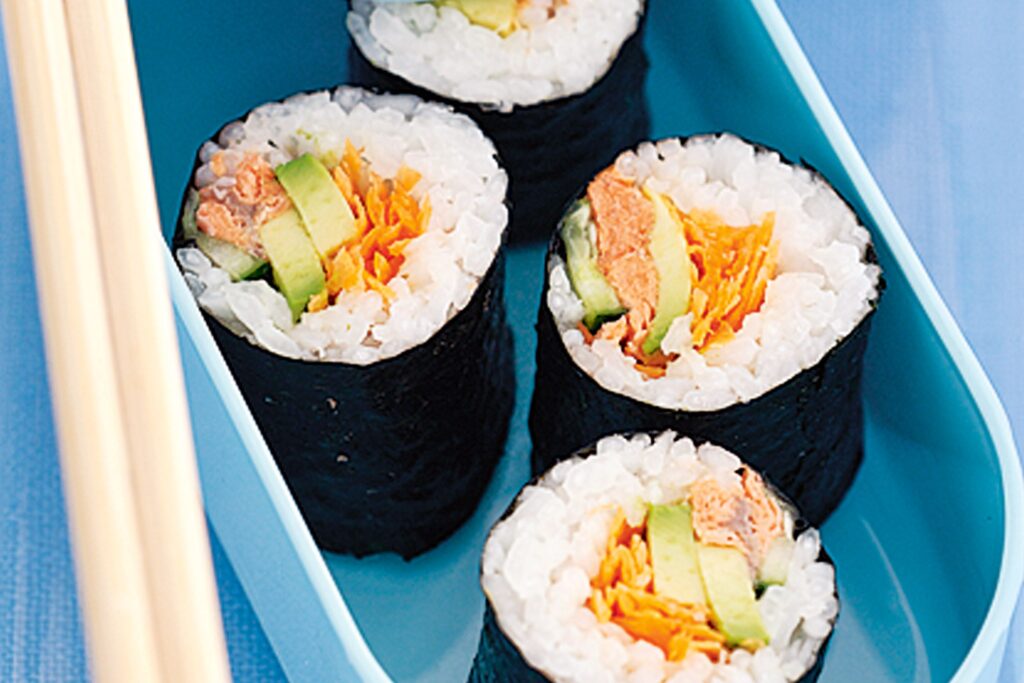
Craving the fresh, vibrant flavors of sushi but intimidated by the thought of making it at home? Fear not! This guide will walk you through creating your own stunning and delicious Salmon Sushi, right in your kitchen. We’ll break down each step, from selecting the freshest salmon to mastering the art of sushi rice, ensuring a rewarding and satisfying culinary experience. Forget expensive takeout – with a little practice, you can become a sushi pro and impress your friends and family with your newfound skills. Get ready to embark on a sushi-making adventure and enjoy the incredible taste of homemade Salmon Sushi.
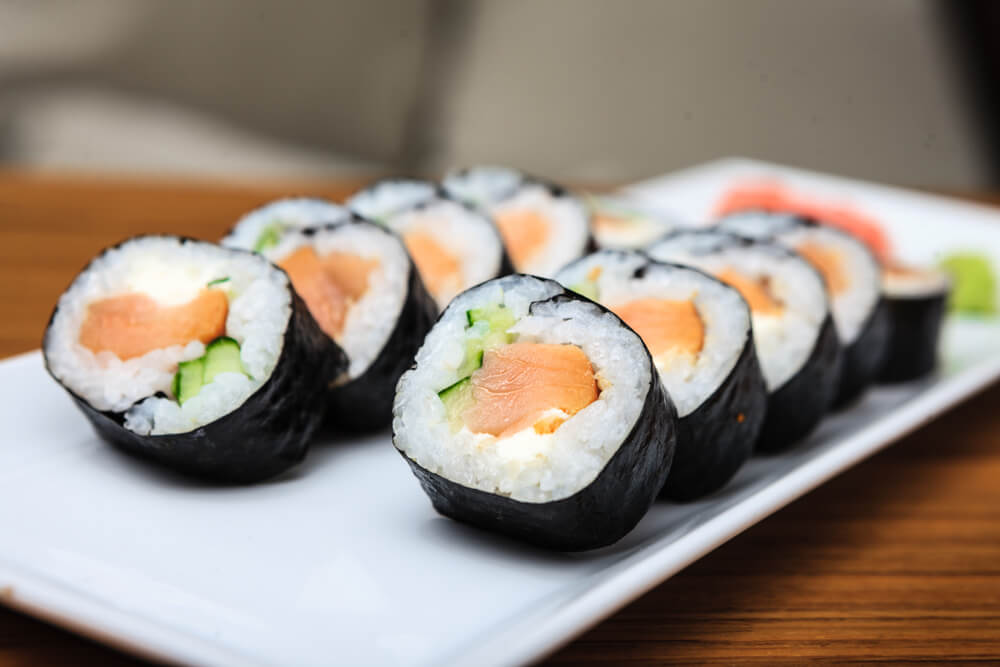
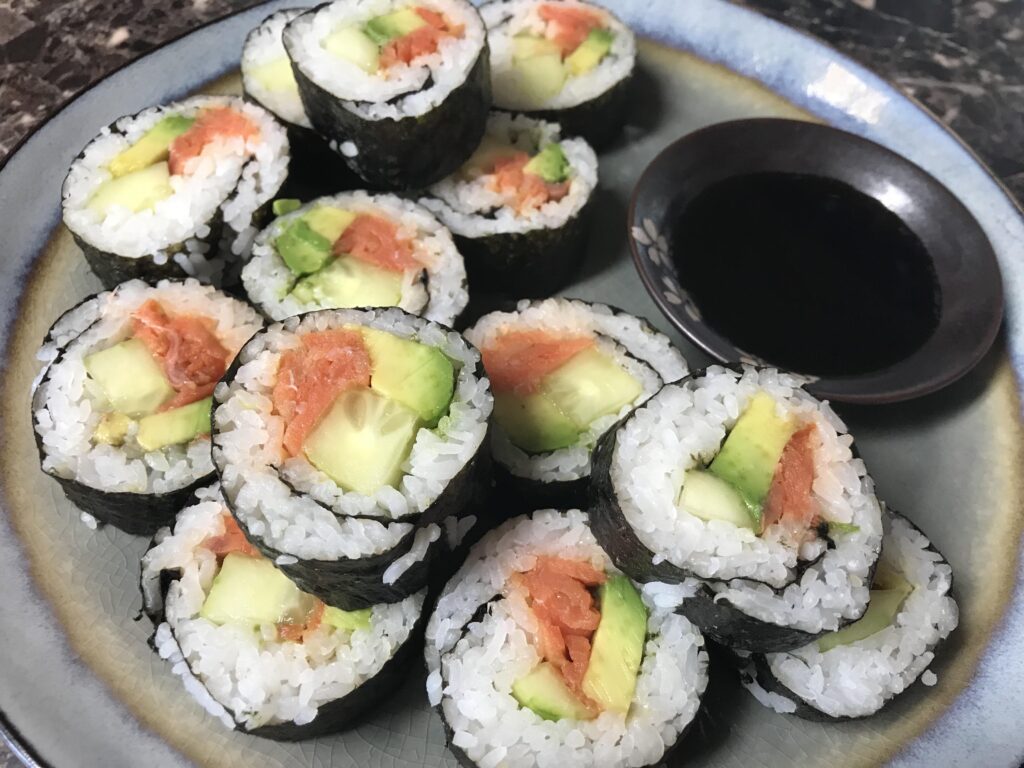
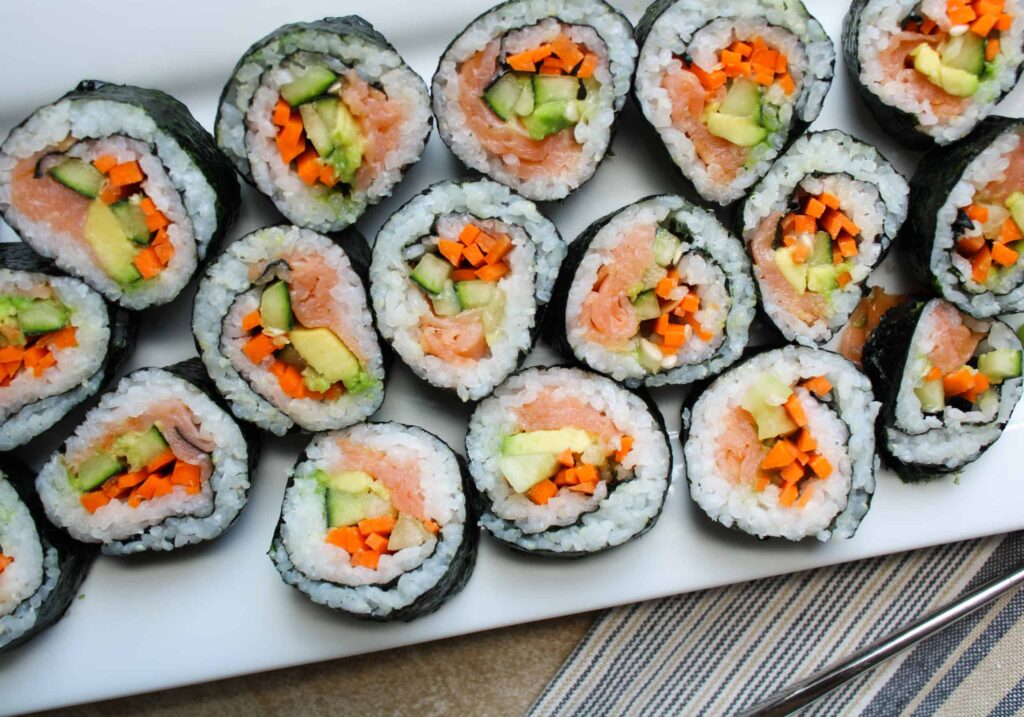
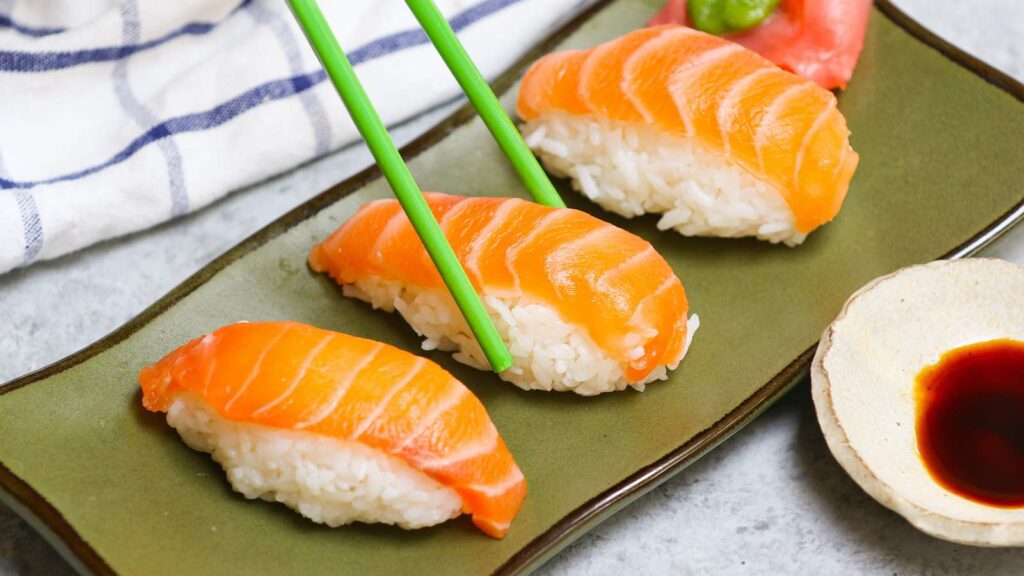
[Image of beautifully arranged Salmon Sushi here]
Recipe Overview
| Category | Value |
|---|---|
| Preparation Time | 30 minutes |
| Cooking Time | 20 minutes |
| Servings | 4 servings (approx. 24 pieces) |
| Difficulty | Intermediate |
Nutrition Per Serving (Approximate)
Note: Nutritional values are approximate and can vary based on specific ingredients and portion sizes.

- Calories: Approximately 350-400 kcal
- Protein: 25-30g
- Fat: 15-20g
- Carbohydrates: 30-35g
Ingredients
| Ingredient | Quantity | Notes |
|---|---|---|
| Sushi Rice | 2 cups uncooked | Short-grain Japanese rice is essential for the right texture. |
| Water | 2 1/4 cups | For cooking the rice. |
| Rice Vinegar | 1/4 cup | Seasoned or unseasoned, adjust sugar/salt accordingly. |
| Sugar | 2 tablespoons | Granulated sugar. |
| Salt | 1 teaspoon | Fine sea salt. |
| Sushi-Grade Salmon | 8 ounces | Very important: Ensure it’s labeled “sushi-grade” or “sashimi-grade”. |
| Nori Sheets | 5 sheets | Dried seaweed sheets. |
| Wasabi | To taste | Wasabi paste or powder. |
| Soy Sauce | For dipping | Regular or low-sodium. |
| Pickled Ginger (Gari) | To taste | For palate cleansing. |
| Optional: Avocado | 1/2, sliced | Adds creamy texture. |
| Optional: Cucumber | 1/2, seeded and julienned | Adds a refreshing crunch. |
Cooking Instructions
- Prepare the Sushi Rice: Rinse the rice thoroughly under cold water until the water runs clear. This usually takes about 3-4 rinses. This step is crucial for removing excess starch and achieving the right rice texture for sushi.
- Cook the Rice: Place the rinsed rice and 2 1/4 cups of water in a saucepan. Bring to a boil over high heat, then reduce the heat to low, cover, and simmer for 18-20 minutes, or until all the water is absorbed. Do not lift the lid during this time!
- Season the Rice: While the rice is cooking, prepare the sushi vinegar. In a small saucepan, combine the rice vinegar, sugar, and salt. Heat over low heat, stirring until the sugar and salt are dissolved. Do not boil.
- Cool and Combine: Once the rice is cooked, remove it from the heat and let it stand, covered, for 10 minutes. Transfer the rice to a large wooden bowl (hangiri is ideal, but any large bowl will do). Gently drizzle the sushi vinegar mixture over the rice, using a rice paddle or wooden spoon to carefully mix it in. Be gentle to avoid crushing the rice grains. Fan the rice while mixing to help it cool down quickly and evenly. The goal is to bring the rice to room temperature.
- Prepare the Salmon: While the rice is cooling, prepare the salmon. Using a very sharp knife, slice the sushi-grade salmon into thin, even strips. If you’re adding avocado or cucumber, prepare them as well.
- Set Up Your Sushi Station: Lay a bamboo sushi rolling mat (makisu) on a clean, flat surface. Place a sheet of nori on the mat, shiny side down. Have a small bowl of water nearby to keep your fingers from sticking to the rice.
- Assemble the Sushi: Moisten your hands with the water. Take a handful of sushi rice and gently spread it evenly over the nori sheet, leaving about 1 inch of space at the top edge of the nori.
- Add the Fillings: Arrange the salmon strips (and any other fillings like avocado or cucumber) horizontally across the center of the rice.
- Roll the Sushi: Using the bamboo mat, carefully lift the edge of the nori closest to you and roll it over the fillings, tucking it tightly as you go. Continue rolling until the entire roll is formed. Squeeze the mat firmly to shape the roll into a tight cylinder.
- Slice the Sushi: Using a very sharp, wet knife, slice the sushi roll into 6-8 equal pieces. Wipe the blade clean between each slice to prevent the rice from sticking.
- Repeat: Repeat steps 6-10 with the remaining nori sheets, rice, and fillings.
- Serve: Arrange the Salmon Sushi on a plate. Serve immediately with soy sauce, wasabi, and pickled ginger.
Serving Suggestions
Serve your homemade Salmon Sushi with a variety of accompaniments to enhance the dining experience:
- Soy Sauce: Offer regular or low-sodium soy sauce for dipping.
- Wasabi: Provide wasabi paste or powder for those who enjoy a spicy kick.
- Pickled Ginger (Gari): Serve pickled ginger to cleanse the palate between different types of sushi.
- Edamame: Steamed edamame sprinkled with sea salt is a classic sushi side dish.
- Miso Soup: A warm bowl of miso soup complements the flavors of sushi beautifully.
- Seaweed Salad: Add a refreshing seaweed salad for extra texture and flavor.
- Sake: Enjoy your Salmon Sushi with a glass of chilled sake.
Experiment with different dipping sauces and side dishes to find your perfect sushi pairing!
Tips and Notes for Perfect Salmon Sushi
Making sushi at home can seem daunting, but with a few helpful tips and tricks, you can achieve restaurant-quality results. Here are some important things to keep in mind when preparing your Salmon Sushi:
- Freshness is Key: Always use sushi-grade salmon. This means the salmon has been handled and frozen in a specific way to kill any potential parasites. Never substitute with regular salmon. Ask your fishmonger for guidance.
- Rice is Everything: Using the right type of rice and cooking it properly is crucial for sushi. Short-grain Japanese rice provides the sticky texture needed to hold the sushi together. Don’t overcook or undercook the rice.
- Vinegar Seasoning Matters: The sushi vinegar mixture is what gives the rice its characteristic flavor. Adjust the sugar and salt to your liking. Some people prefer a sweeter vinegar, while others prefer a more savory one.
- Cool the Rice Properly: Cooling the rice quickly and evenly is important for preventing it from becoming mushy. Fanning the rice while mixing in the vinegar helps to evaporate excess moisture.
- Don’t Overfill: Avoid overfilling the sushi rolls with too much filling. This will make them difficult to roll and cut. A small amount of filling is all you need to create a flavorful and balanced sushi roll.
- Sharp Knife is Essential: Use a very sharp knife to slice the sushi rolls. A dull knife will tear the nori and make it difficult to cut clean slices. Wet the blade of the knife before each slice to prevent the rice from sticking.
- Practice Makes Perfect: Don’t be discouraged if your first few sushi rolls aren’t perfect. Making sushi takes practice. The more you do it, the better you’ll become.
- Experiment with Fillings: While Salmon Sushi is a classic, feel free to experiment with other fillings like tuna, shrimp, avocado, cucumber, or cream cheese.
- Leftovers: Sushi is best enjoyed fresh. However, if you have leftovers, store them in an airtight container in the refrigerator. Consume within 24 hours. The rice may harden slightly in the refrigerator.
Making Salmon Sushi is a fun and rewarding culinary experience. By following these tips and notes, you’ll be well on your way to creating delicious and beautiful sushi at home. Enjoy the process, experiment with different flavors, and impress your friends and family with your sushi-making skills! Remember, the most important ingredient is fresh, high-quality salmon – the star of this delectable dish. With a little practice, you’ll be creating perfect Salmon Sushi every time!
This Salmon Sushi recipe is not only delicious but also a great way to enjoy the health benefits of salmon, which is rich in omega-3 fatty acids and essential nutrients. By making it at home, you have complete control over the ingredients and can ensure that you’re using the freshest and highest-quality ingredients possible. So, gather your ingredients, roll up your sleeves, and get ready to create some amazing Salmon Sushi!
Don’t forget to share your Salmon Sushi creations with us on social media! We’d love to see your homemade sushi masterpieces. Happy rolling!