
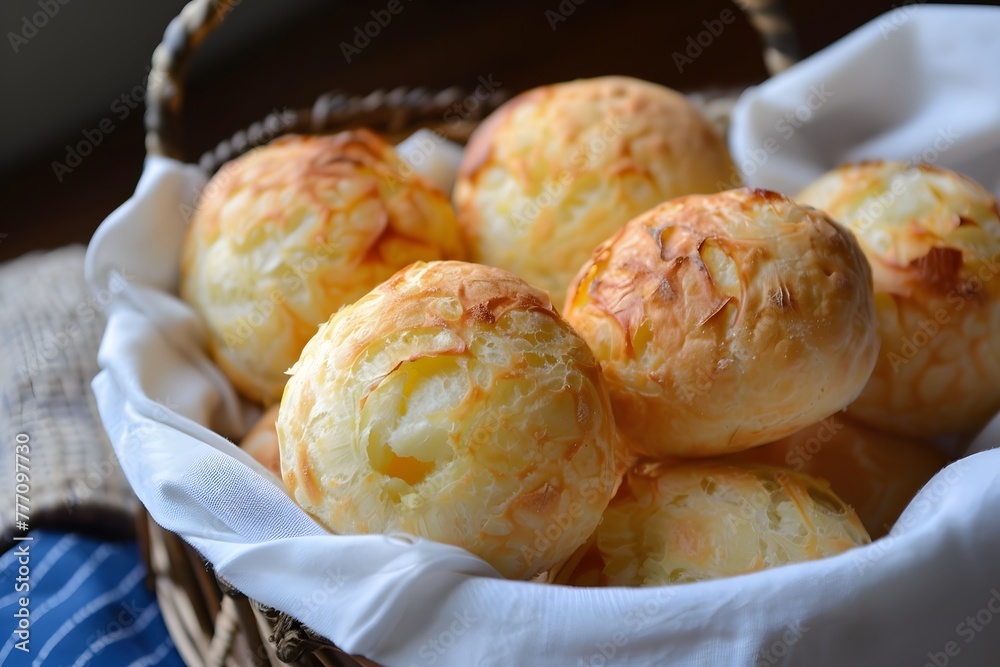
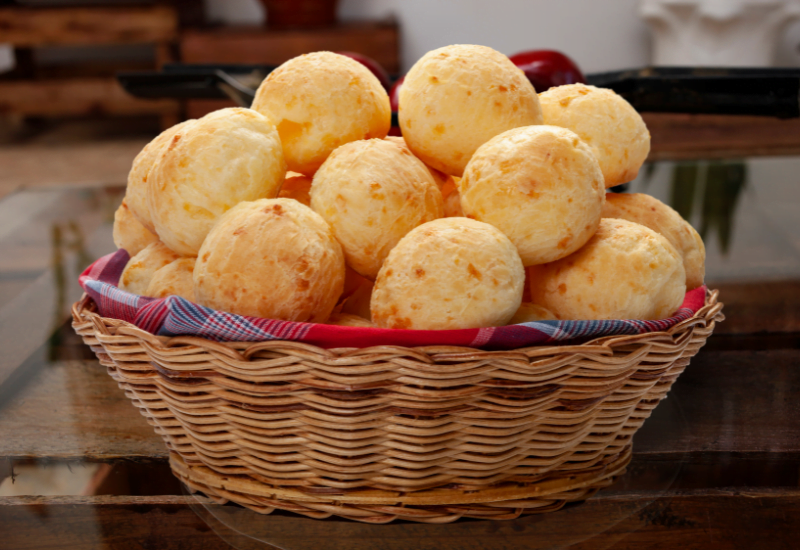
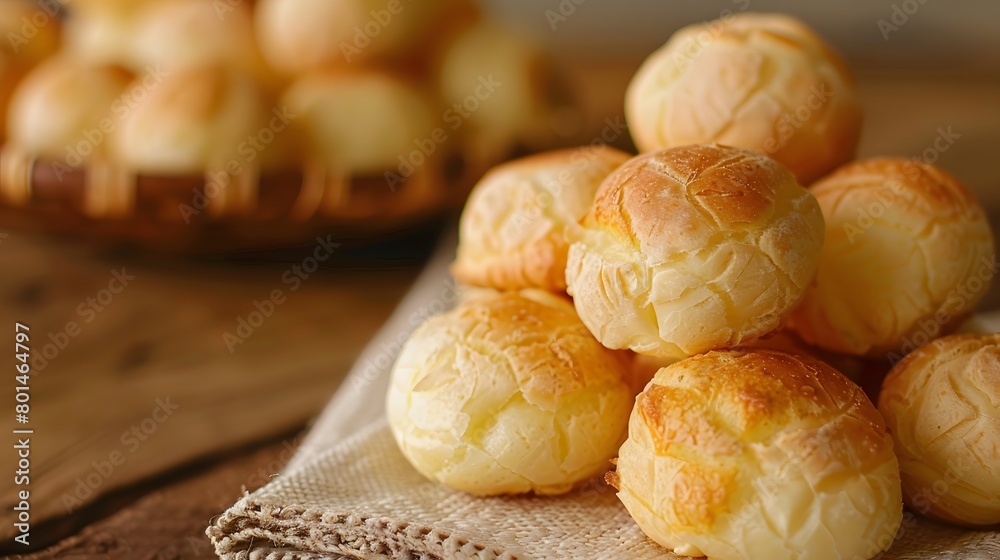
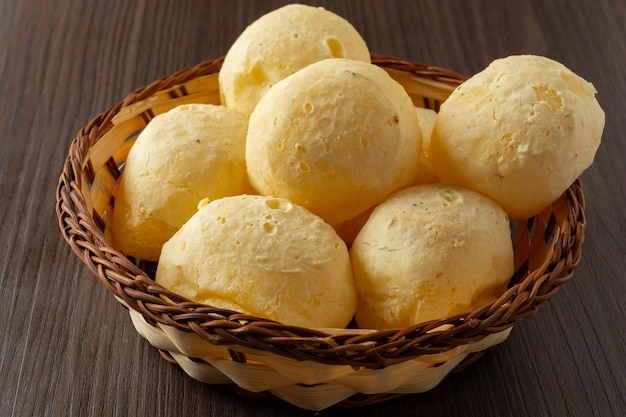
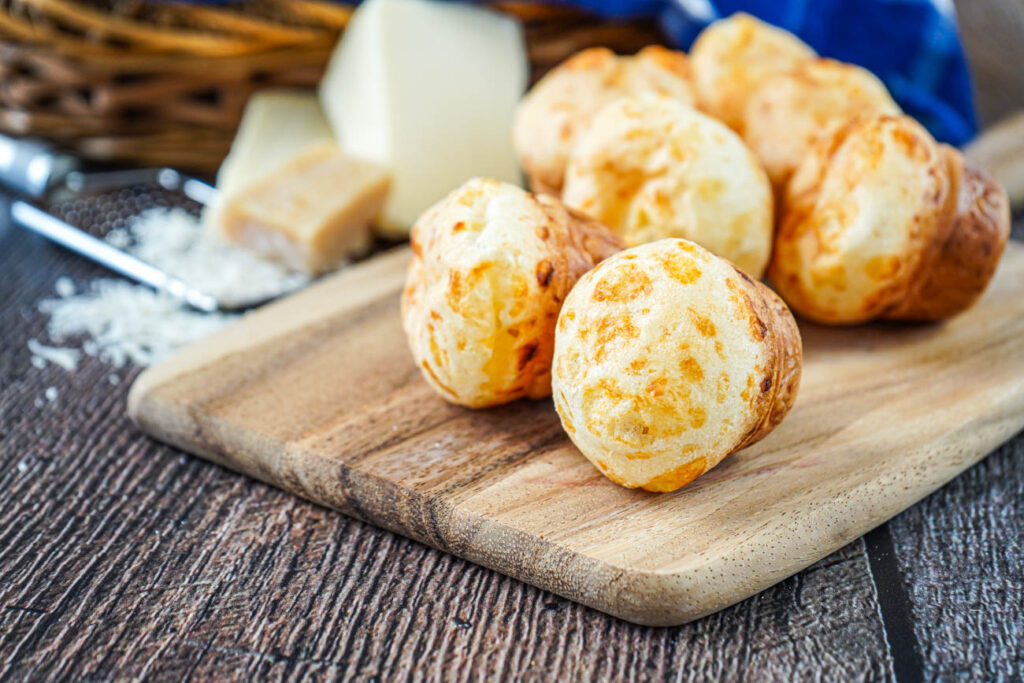
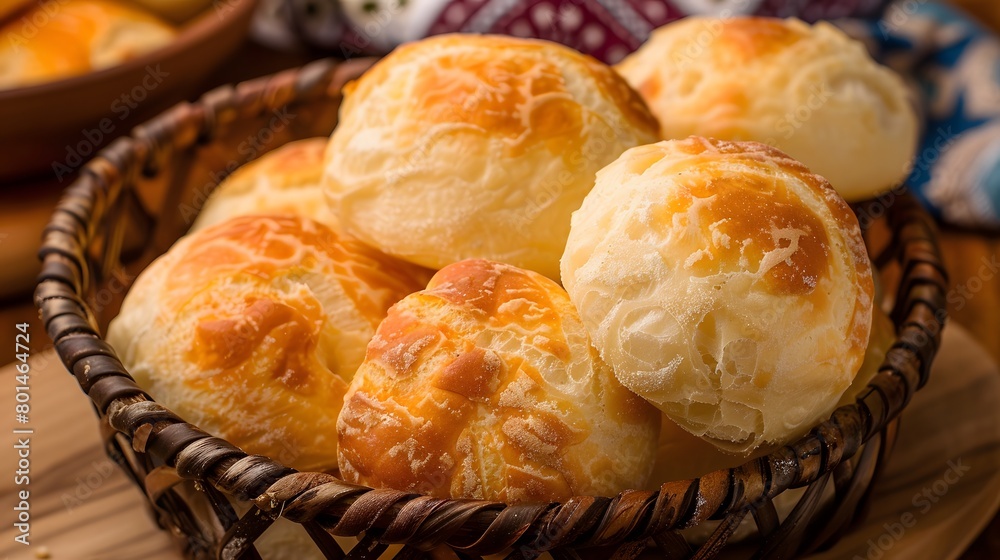
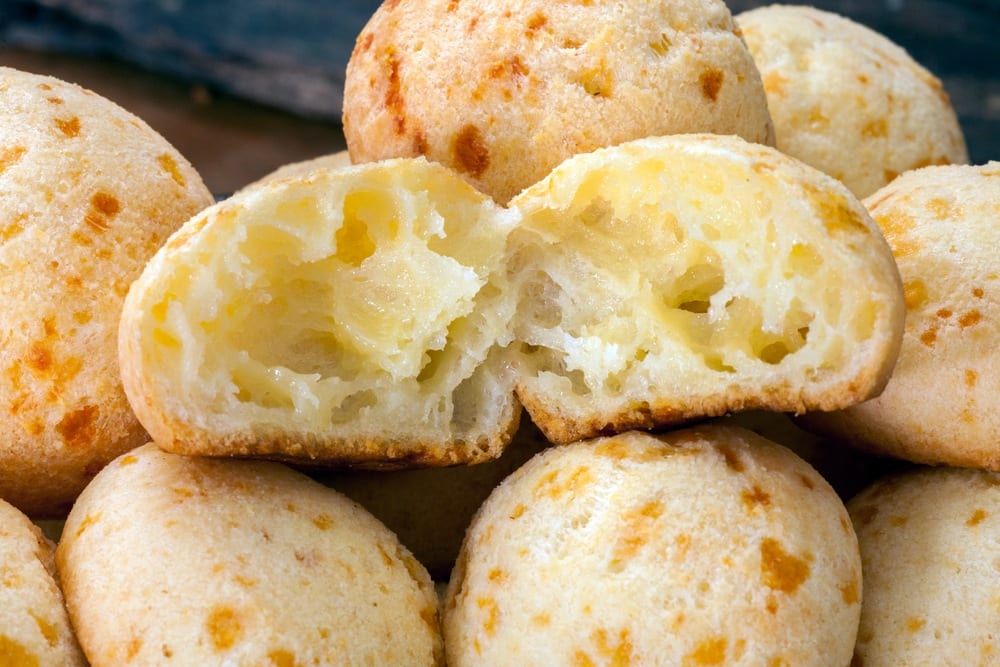
Pão de Queijo, or Brazilian cheese bread, is a delightful and addictive snack that’s incredibly popular in Brazil and increasingly loved worldwide. These small, chewy, and incredibly cheesy balls are naturally gluten-free and surprisingly easy to make at home. This recipe will guide you through each step, ensuring you create perfect Pão de Queijo every time. Prepare to be amazed by the simple ingredients and the incredible flavor!
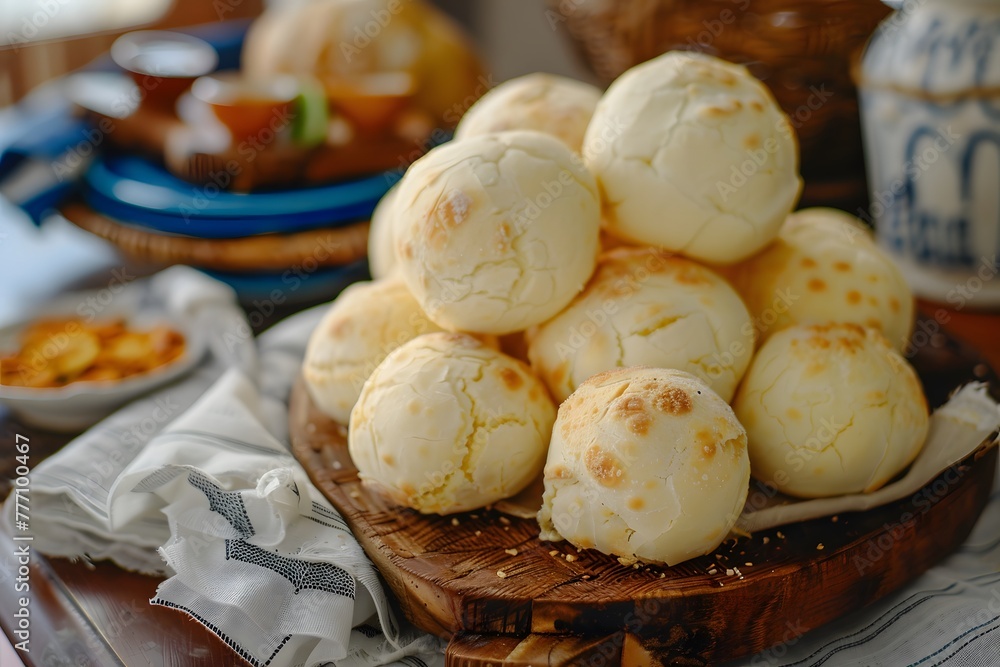
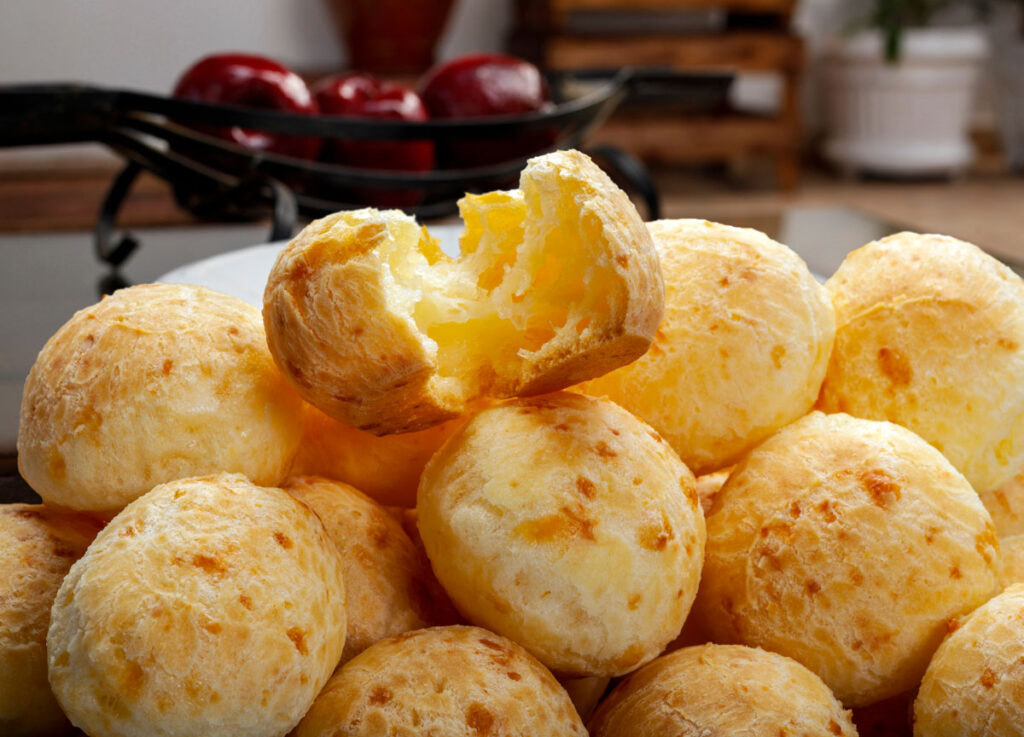
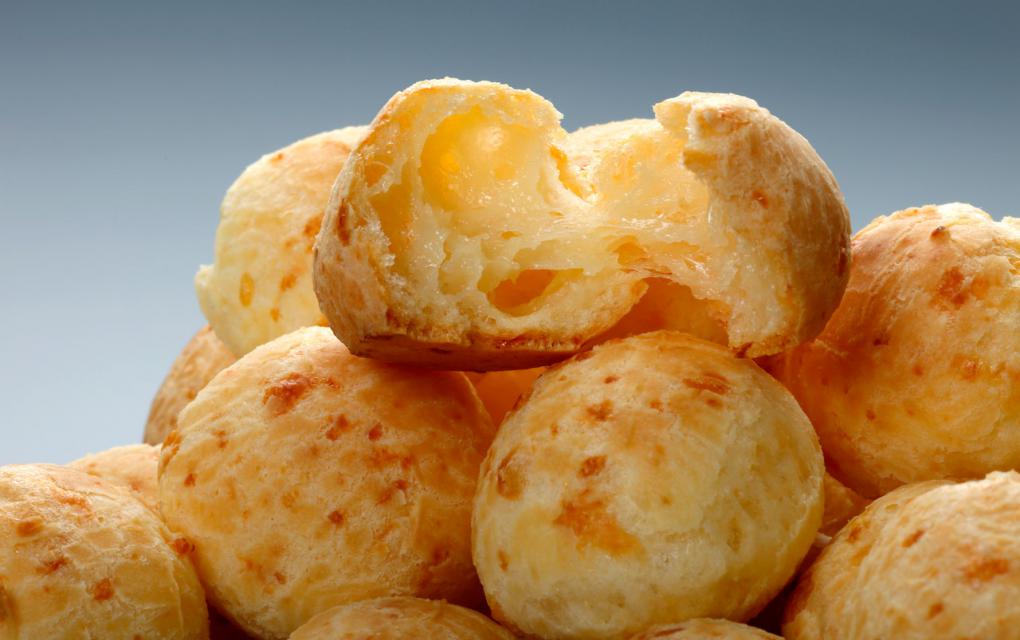
Imagine biting into a warm, slightly crispy crust, giving way to a soft, chewy interior bursting with cheesy goodness. That’s the magic of Pão de Queijo! This recipe captures the authentic taste and texture, bringing a little piece of Brazil right to your kitchen.
| Category | Value |
|---|---|
| Preparation Time | 15 minutes |
| Cooking Time | 20 minutes |
| Servings | About 24 cheese breads |
| Difficulty | Easy |
Nutrition per serving (approx. 1 cheese bread)
Please note that these are estimates and can vary based on specific ingredients used.
| Nutrient | Amount |
|---|---|
| Calories | 80-100 |
| Fat | 5-7g |
| Saturated Fat | 3-4g |
| Cholesterol | 15-20mg |
| Sodium | 100-150mg |
| Carbohydrates | 8-10g |
| Fiber | 0-1g |
| Sugar | 0-1g |
| Protein | 2-3g |
Ingredients for Perfect Pão de Queijo
Here’s what you’ll need to bake these delightful Brazilian cheese breads. The key ingredient is tapioca starch, which gives Pão de Queijo its signature chewy texture. Don’t substitute it!

| Ingredient | Quantity |
|---|---|
| Tapioca Starch (also called Tapioca Flour) | 1 cup (120g) |
| Sour Tapioca Starch (optional, but recommended for authentic flavor) | 1/2 cup (60g) |
| Milk | 1/2 cup (120ml) |
| Vegetable Oil | 1/4 cup (60ml) |
| Salt | 1 teaspoon |
| Eggs | 1 large |
| Cheese (Minas, Parmesan, or Mozzarella blend recommended) | 1 cup (100g), grated |
Cooking Instructions
- Preheat your oven: Set your oven to 375°F (190°C). This ensures even baking and a perfectly golden crust for your Pão de Queijo.
- Prepare the wet ingredients: In a saucepan, combine the milk, vegetable oil, and salt. Bring the mixture to a simmer over medium heat. You’ll see small bubbles forming around the edges.
- Scald the tapioca starch: Remove the saucepan from the heat and immediately pour the hot milk mixture over the tapioca starch (both sweet and sour, if using) in a large bowl. Stir vigorously with a wooden spoon until the mixture is well combined and forms a slightly lumpy dough. This process “cooks” the tapioca starch, which is crucial for the final texture.
- Cool the mixture slightly: Let the mixture cool for about 5-10 minutes, or until it’s warm but not too hot to handle. This step is important to prevent the eggs from scrambling when you add them.
- Add the egg: Crack the egg into the bowl and mix well until fully incorporated. The dough will become smoother and more elastic.
- Incorporate the cheese: Add the grated cheese to the mixture and stir until evenly distributed. Don’t overmix; just ensure the cheese is well combined. A good blend of cheeses like Minas, Parmesan, and Mozzarella will give the best flavor.
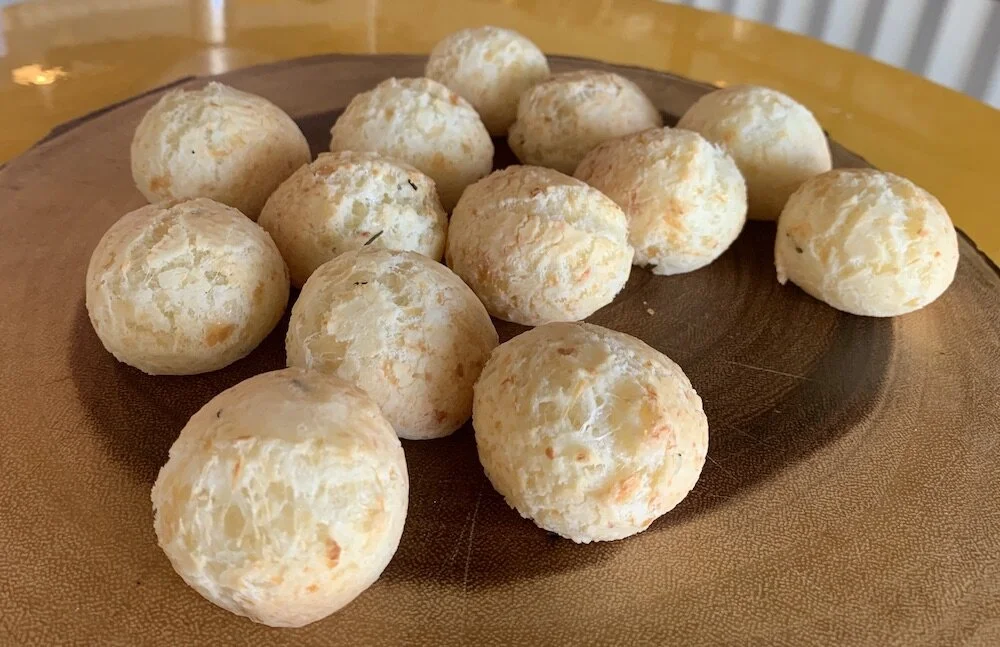
- Shape the dough: Lightly grease a baking sheet. Using a spoon or your hands, form the dough into small balls, about 1-inch in diameter. Place them on the prepared baking sheet, leaving some space between each ball.
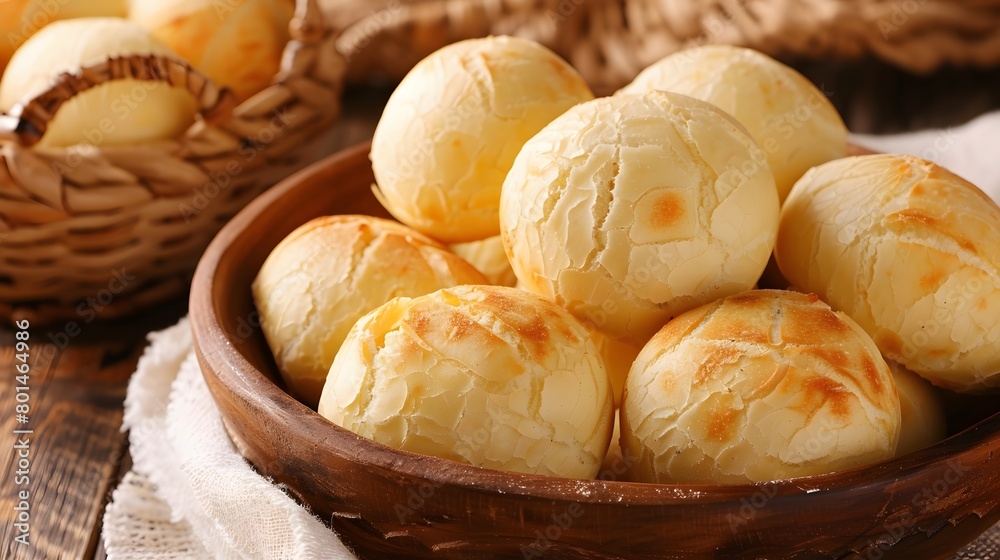
- Bake the Pão de Queijo: Bake in the preheated oven for 20-25 minutes, or until the cheese breads are puffed up and golden brown. Keep an eye on them towards the end of baking to prevent burning.
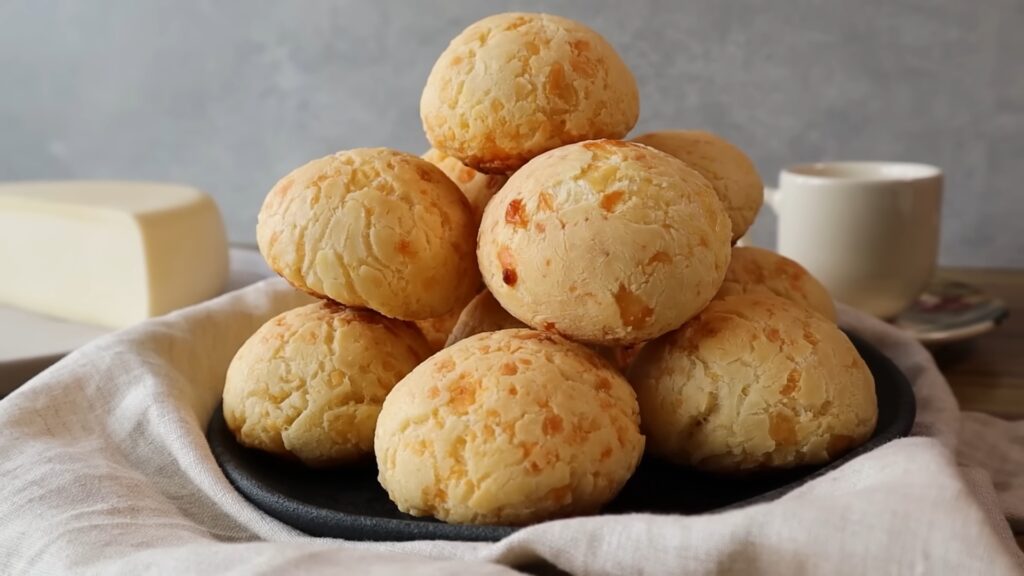
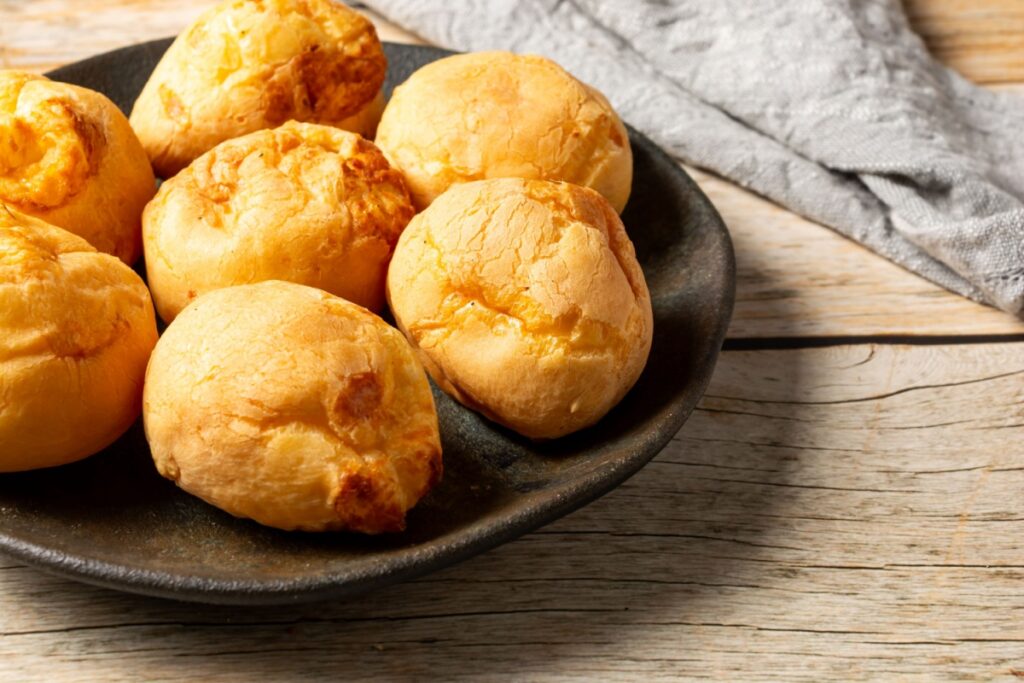
- Cool slightly and serve: Remove the Pão de Queijo from the oven and let them cool on the baking sheet for a few minutes before serving. They are best enjoyed warm!
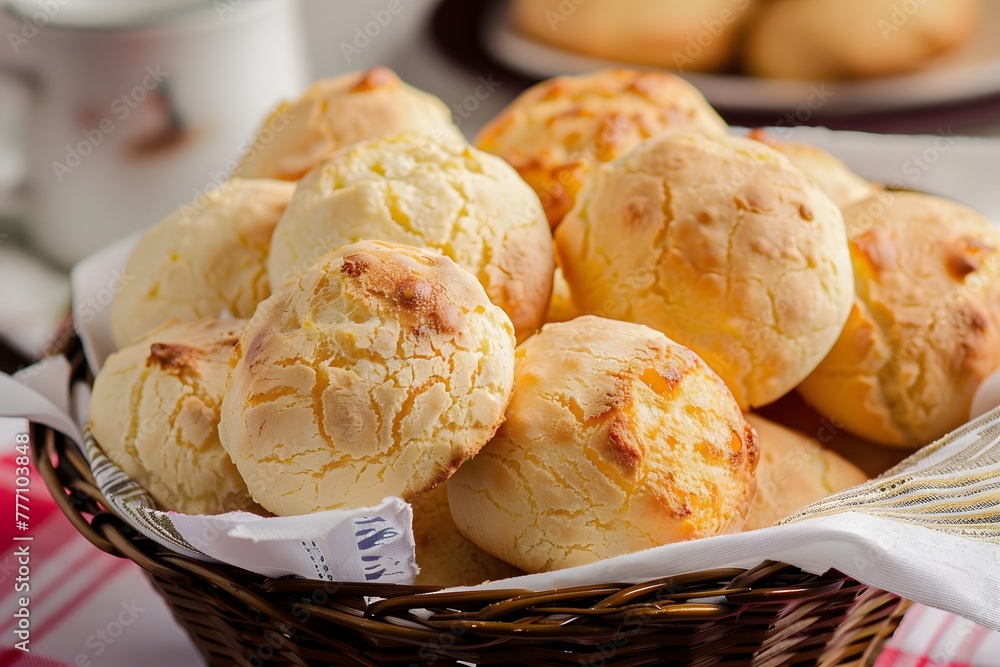
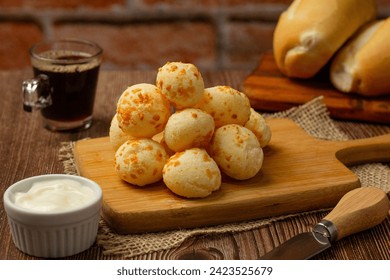
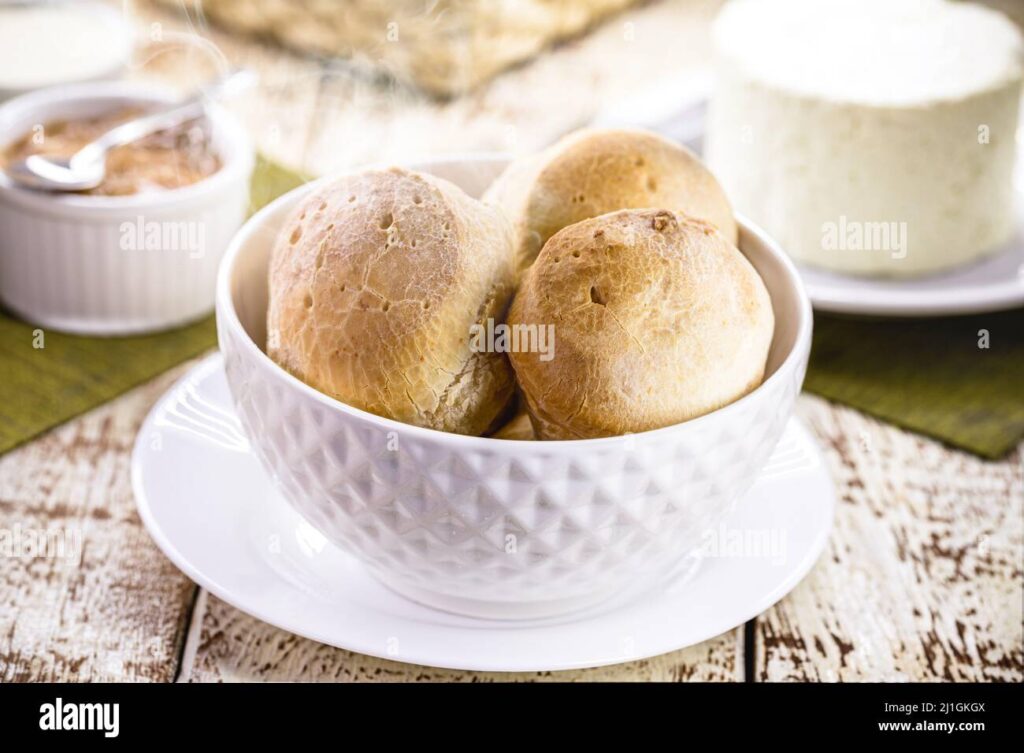
Serving Suggestions
Pão de Queijo is incredibly versatile and can be enjoyed in various ways:
- As a snack: Serve them warm as a delicious and satisfying snack.
- With coffee: They are a perfect accompaniment to a cup of coffee, especially in the morning.
- As a side dish: Serve them alongside soups, salads, or grilled meats.
- Filled: Cut them open and fill them with cream cheese, guava paste, or your favorite savory filling.
This traditional Brazilian cheese bread is a must-try for anyone who loves cheesy, chewy, and flavorful snacks. The recipe is straightforward, and the results are incredibly rewarding. So, gather your ingredients, follow these steps, and enjoy the taste of authentic Pão de Queijo!
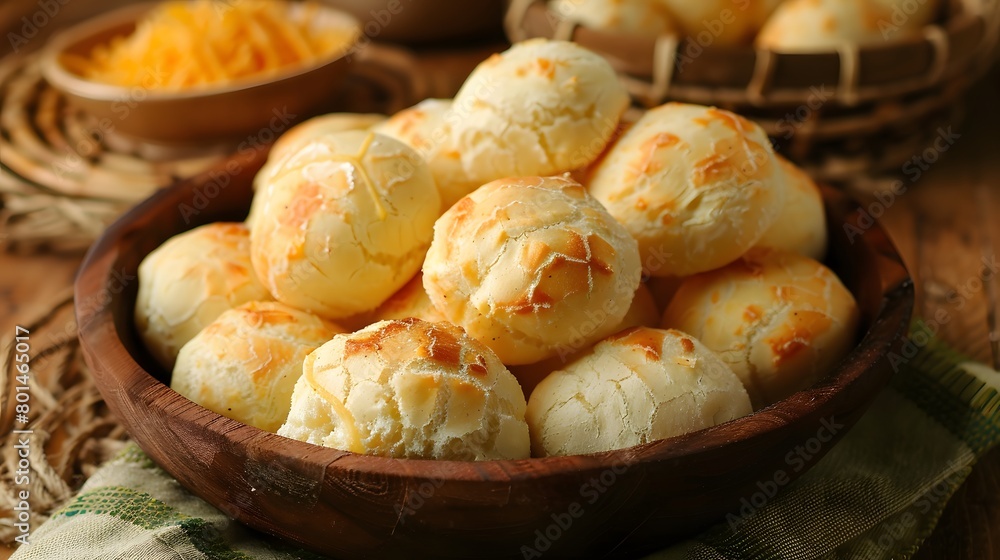
Making authentic Pão de Queijo at home is easier than you think! With just a few simple ingredients, you can create these delicious, chewy cheese breads that are perfect for breakfast, snacks, or even as a side dish. The key to perfect Pão de Queijo lies in the tapioca starch, which gives them their signature texture.
The beauty of Pão de Queijo is its simplicity. Unlike many other baked goods, it requires no yeast and is naturally gluten-free. This makes it a great option for those with dietary restrictions or anyone looking for a quick and easy snack. This recipe ensures that you get the perfect balance of cheese and chewiness every time.
One of the most common mistakes when making Pão de Queijo is not using the correct type of tapioca starch. Make sure you use tapioca starch, also known as tapioca flour, and not tapioca granules. The texture difference is significant and will impact the final product. Sour tapioca starch adds an authentic tangy flavor. If you can find it, I highly recommend using both sweet and sour for the best results. The combination really brings out the traditional taste of Pão de Queijo.
Experimenting with different cheeses can also elevate your Pão de Queijo. While Minas cheese is traditionally used in Brazil, it can be hard to find in some areas. Parmesan and Mozzarella are excellent substitutes, and you can even mix them for a more complex flavor profile. Try adding a touch of Gruyere or Provolone for an extra layer of richness. The cheese is really what makes this Pão de Queijo stand out.

Another tip for achieving the perfect texture is to ensure your wet ingredients are hot enough when you pour them over the tapioca starch. This step is crucial for activating the starch and creating that signature chewy texture. Be careful not to burn yourself, but make sure the milk and oil mixture is simmering before adding it to the tapioca starch. This heat helps to cook the tapioca, which in turn gives you the perfect Pão de Queijo.
Don’t overmix the dough once you add the egg and cheese. Overmixing can result in a tough Pão de Queijo. Just mix until the ingredients are evenly combined. The dough should be slightly sticky, but not overly wet. If it seems too wet, add a little more tapioca starch, a tablespoon at a time, until it reaches the right consistency.
When shaping the Pão de Queijo, make sure to leave some space between each ball on the baking sheet. They will puff up quite a bit during baking, and you want to prevent them from sticking together. Lightly greasing the baking sheet will also ensure that they don’t stick and that they release easily once they are baked. Using parchment paper is another great option.

Baking time can vary depending on your oven, so keep a close eye on the Pão de Queijo while they are baking. They are ready when they are puffed up and golden brown. The bottoms should also be slightly browned. If they are browning too quickly, you can lower the oven temperature slightly and continue baking until they are done. A perfectly baked Pão de Queijo is a sight to behold!
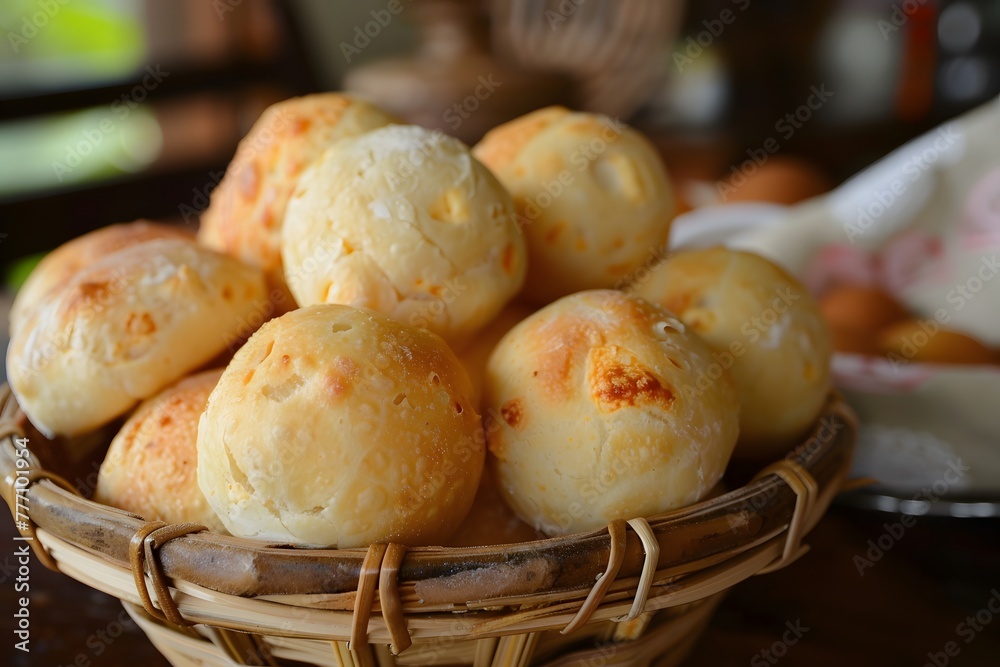
Pão de Queijo is best enjoyed warm, straight from the oven. The texture is at its peak when they are fresh. However, they can also be stored in an airtight container at room temperature for a day or two. To reheat, simply pop them in the oven or microwave until warmed through. They might not be quite as chewy as when they were fresh, but they will still be delicious. Freezing the baked Pão de Queijo is also a great option. After baking, let them cool completely and then freeze them in a single layer on a baking sheet. Once frozen, transfer them to a freezer bag. When you’re ready to eat them, bake them straight from frozen until warmed through.
This recipe for Pão de Queijo is a fantastic way to bring a taste of Brazil into your home. The combination of simple ingredients and easy steps makes it accessible to cooks of all skill levels. So, go ahead and give it a try. You’ll be amazed at how easy it is to create these delicious, chewy cheese breads that everyone will love. Enjoy!
For a twist, consider adding herbs or spices to the dough. A pinch of dried oregano, rosemary, or thyme can add a savory note that complements the cheese perfectly. You can also experiment with different types of cheese, such as cheddar or pepper jack, for a spicier version. Each variation offers a unique flavor experience that will keep you coming back for more. The versatility of Pão de Queijo makes it a blank canvas for culinary creativity.
If you’re looking to make a larger batch of Pão de Queijo for a party or gathering, this recipe can easily be doubled or tripled. Just make sure you have a large enough bowl to mix all the ingredients. Scaling up the recipe is a great way to ensure that everyone gets to enjoy these tasty cheese breads. They are always a crowd-pleaser!
Remember, the secret to perfect Pão de Queijo is in the technique. Don’t rush the process and follow the steps carefully. With a little practice, you’ll be able to create these delicious cheese breads with ease. They are a perfect snack, a great appetizer, and a wonderful addition to any meal. So, get baking and enjoy the taste of Brazil!
Finally, always use the best quality ingredients you can find. The better the ingredients, the better the final product. Freshly grated cheese, high-quality tapioca starch, and fresh eggs will all contribute to a more flavorful and delicious Pão de Queijo. Don’t skimp on the ingredients – it’s worth it!
In conclusion, making Pão de Queijo is a rewarding culinary experience that brings a taste of Brazil to your home. The recipe is simple, the ingredients are readily available, and the results are absolutely delicious. So, gather your supplies, follow these tips, and get ready to enjoy some of the best cheese bread you’ve ever tasted. Happy baking!

Note: For a vegan version, substitute the milk with plant-based milk, use a flax egg replacer, and use vegan cheese alternatives. While the taste will be slightly different, it can still be a delicious and satisfying treat.

Tip: If your dough is too sticky to handle, try refrigerating it for 30 minutes before shaping the balls. This will make it easier to work with.
Enjoy your homemade Pão de Queijo!


