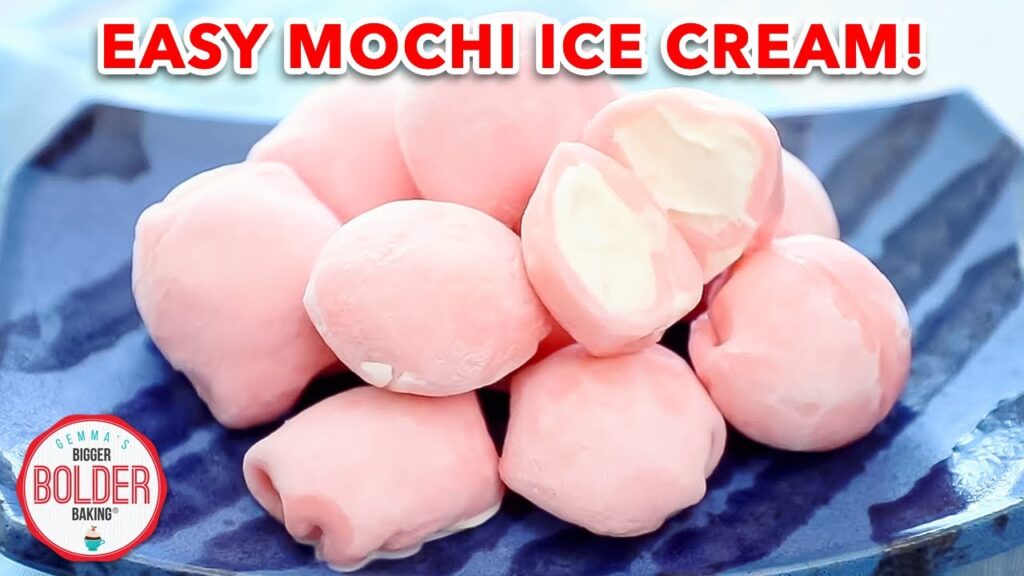
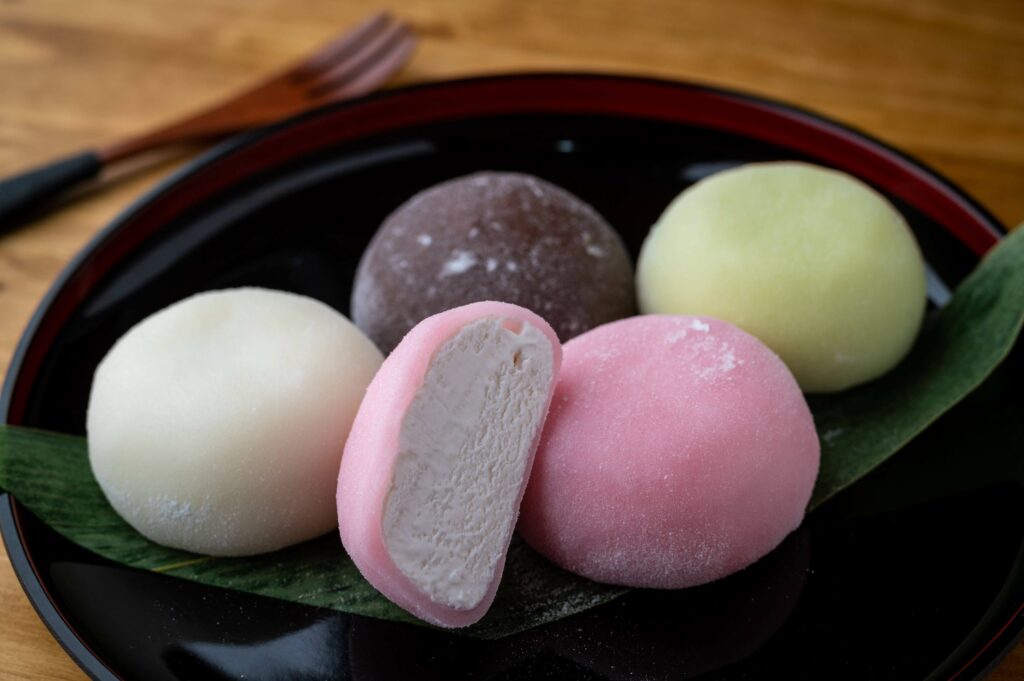
Mochi ice cream, those delightful little balls of chewy rice dough hugging a frozen heart of creamy ice cream, is a treat that bridges cultures and satisfies cravings. These bite-sized wonders, originating in Japan, have taken the world by storm, offering a unique textural experience and a burst of flavor in every mouthful. While often purchased from specialty stores or Asian markets, making your own mochi ice cream at home is surprisingly simple and incredibly rewarding. This comprehensive guide will walk you through each step of the process, from preparing the sweet, pliable mochi dough to perfectly encasing your favorite ice cream flavors. Get ready to embark on a culinary adventure and create your own personalized batch of delicious mochi ice cream!

Recipe Overview
| Category | Value |
|---|---|
| Preparation Time | 45 minutes (plus freezing time) |
| Cooking Time | 10 minutes |
| Servings | 12-16 mochi ice cream balls |
| Difficulty | Medium |
Nutrition per Serving (estimated)
Please note that the following is an estimate and can vary based on the specific ice cream flavor used.
- Calories: Approximately 150-200
- Fat: 5-10g
- Carbohydrates: 25-35g
- Protein: 1-3g
Ingredients
| Ingredient | Quantity | Notes |
|---|---|---|
| Glutinous Rice Flour (Mochiko) | 1 cup | Essential for the chewy texture. Do not substitute with regular rice flour. |
| Granulated Sugar | 1/2 cup | Adds sweetness to the mochi. |
| Water | 1 cup | For creating the mochi dough. |
| Cornstarch or Potato Starch | About 1/2 cup | For dusting and preventing the mochi from sticking. |
| Your Favorite Ice Cream | About 1 pint (473ml) | Let it soften slightly for easier scooping. |
| Food Coloring (Optional) | Few drops | Gel food coloring is recommended for vibrant colors. |
Cooking Instructions
- Soften the Ice Cream: Take your ice cream out of the freezer and let it soften slightly for about 10-15 minutes. You want it to be scoopable but not completely melted. Softer ice cream is easier to work with when forming the balls.
- Scoop and Freeze the Ice Cream: Line a baking sheet with parchment paper. Scoop out small, round balls of ice cream (about 1-inch in diameter) and place them on the prepared baking sheet. Return the baking sheet to the freezer and freeze the ice cream balls for at least 1 hour, or preferably longer. This step is crucial to prevent the ice cream from melting too quickly when wrapping it in the mochi dough. The firmer the ice cream, the better. For best results, freeze them overnight.
- Prepare the Mochi Dough: In a microwave-safe bowl, combine the glutinous rice flour (mochiko) and granulated sugar. Whisk them together until well combined. This ensures the sugar is evenly distributed throughout the flour.
- Add Water and Mix: Gradually add the water to the flour mixture, whisking constantly to prevent lumps from forming. Continue whisking until you have a smooth, milky-white batter. If you’re using food coloring, add it now and mix well to achieve your desired color.
- Microwave the Dough: Cover the bowl loosely with microwave-safe plastic wrap. Make sure to leave a small vent for steam to escape. Microwave on high for 1 minute. Remove the bowl from the microwave, stir the dough well, and microwave for another 1 minute. The dough should be thick, sticky, and slightly translucent. If it’s still too liquidy, microwave for another 30 seconds, stirring in between. Watch carefully to avoid overcooking, which can make the mochi tough.
- Dust and Knead: Generously dust a clean work surface with cornstarch or potato starch. This is essential to prevent the mochi from sticking everywhere. Carefully transfer the hot mochi dough to the dusted surface. Dust your hands generously with more starch and begin kneading the dough. Be careful, as the dough will be very hot at first. Knead for a few minutes until the dough is smooth, elastic, and no longer sticky. Add more starch as needed to prevent sticking.
- Divide the Dough: Using a knife or dough scraper, divide the mochi dough into 12-16 equal portions, depending on the size of the ice cream balls you made. Keep the divided portions covered with plastic wrap or a damp cloth to prevent them from drying out.
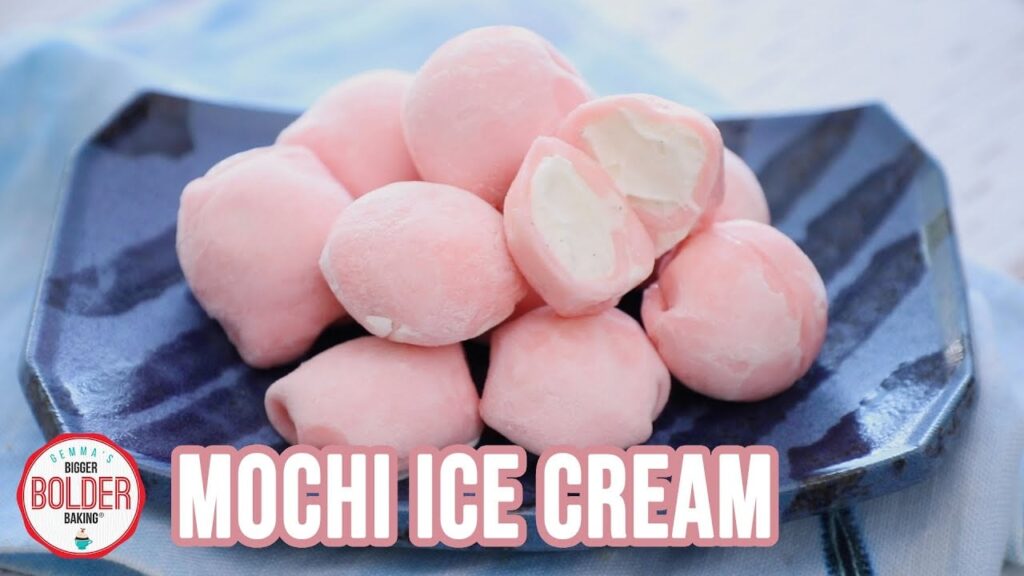
- Wrap the Ice Cream: Take one portion of mochi dough and flatten it into a thin, round disc (about 3-4 inches in diameter) using your fingers or a rolling pin. Work quickly, as the dough can become less pliable as it cools. Place one frozen ice cream ball in the center of the mochi disc. Gently lift the edges of the mochi dough and wrap it around the ice cream ball, pinching the edges together to seal completely. Make sure there are no gaps, or the ice cream will leak out.
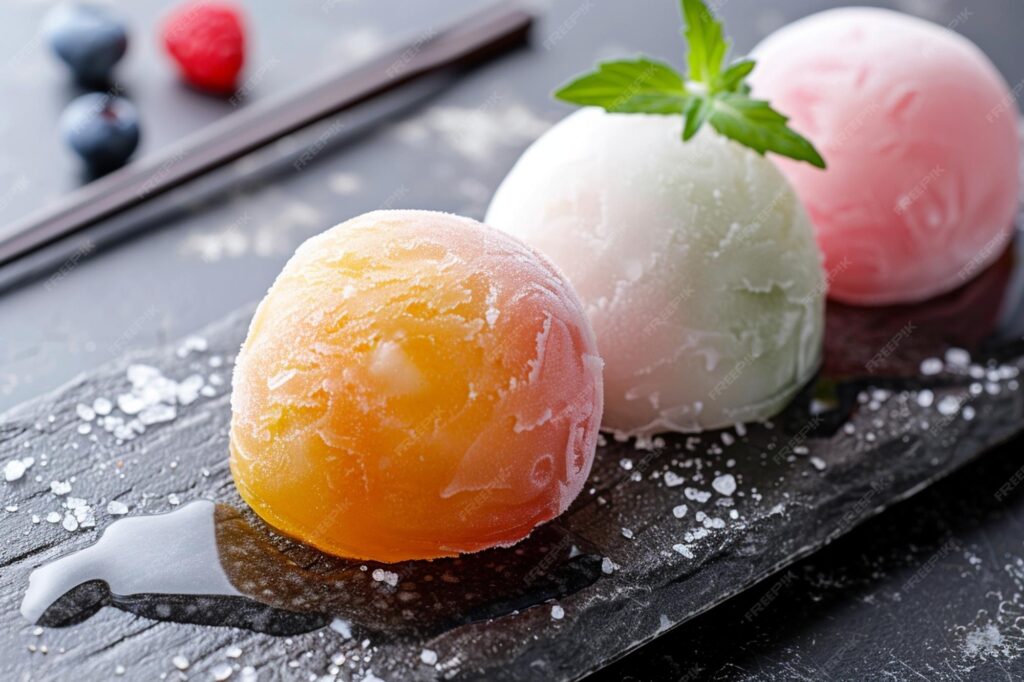
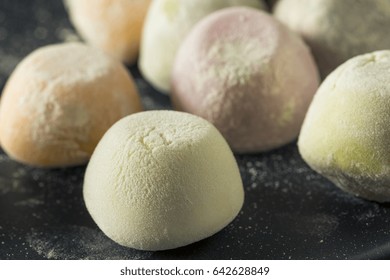
- Smooth and Dust: Roll the mochi-wrapped ice cream ball between your palms to smooth out any imperfections and create a uniform shape. Dust the ball generously with more cornstarch or potato starch to prevent sticking.
- Repeat and Freeze: Repeat steps 8 and 9 with the remaining mochi dough and ice cream balls. Place the finished mochi ice cream balls back on the parchment-lined baking sheet and return them to the freezer. Freeze for at least 30 minutes to allow the mochi dough to firm up.
- Enjoy: Before serving, let the mochi ice cream sit at room temperature for a few minutes to soften slightly. This will make the mochi dough chewier and more enjoyable. Enjoy your homemade mochi ice cream immediately!
Serving Suggestions
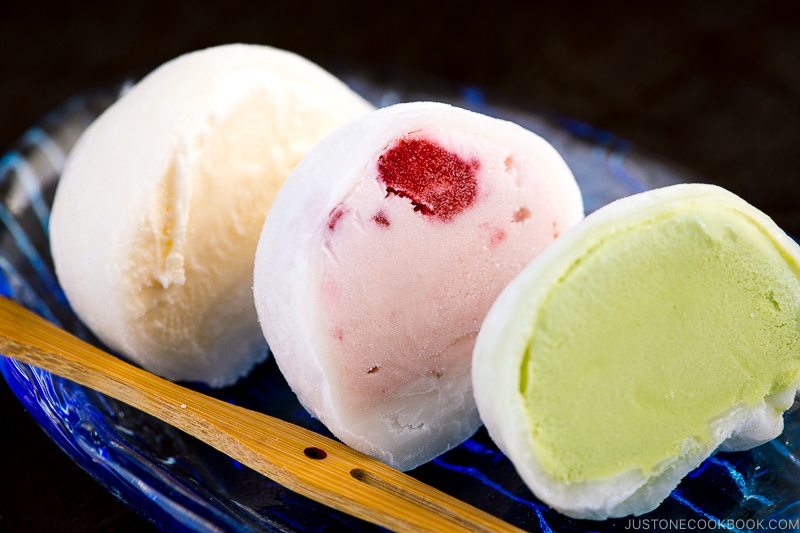
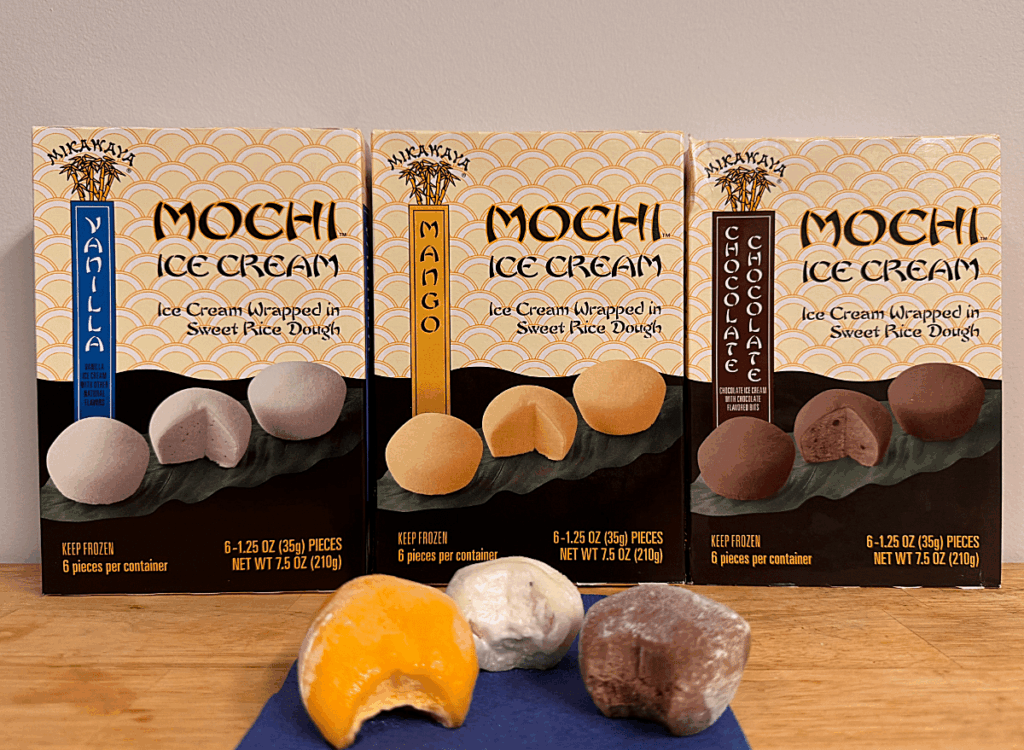
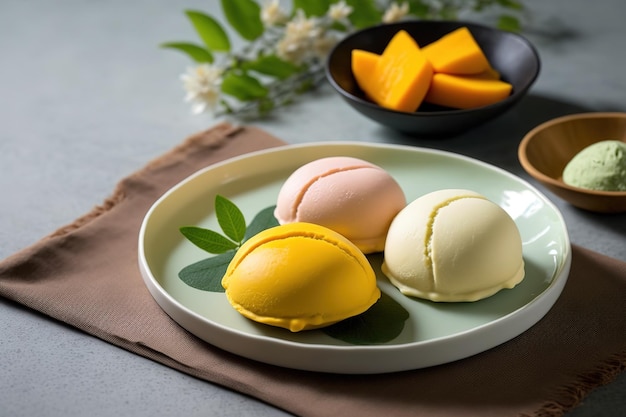
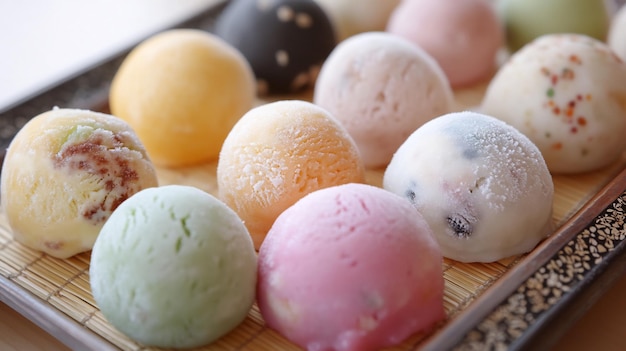
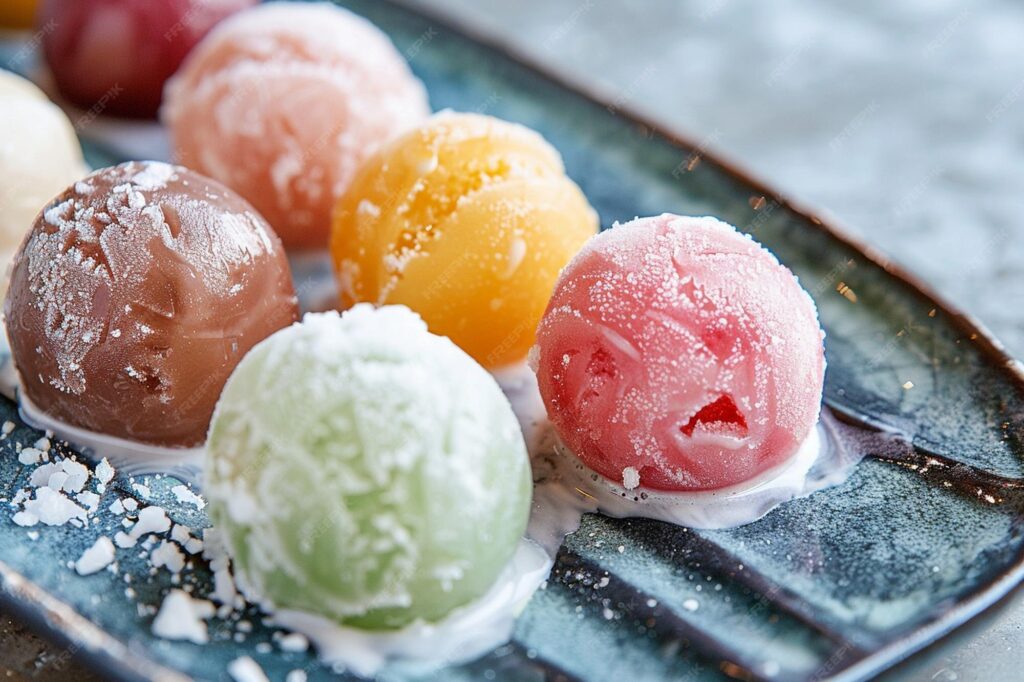
- Variety of Flavors: Experiment with different ice cream flavors to create your own unique mochi ice cream combinations.
- Dusting: Instead of just cornstarch, try dusting with matcha powder, cocoa powder, or finely ground nuts for added flavor and visual appeal.
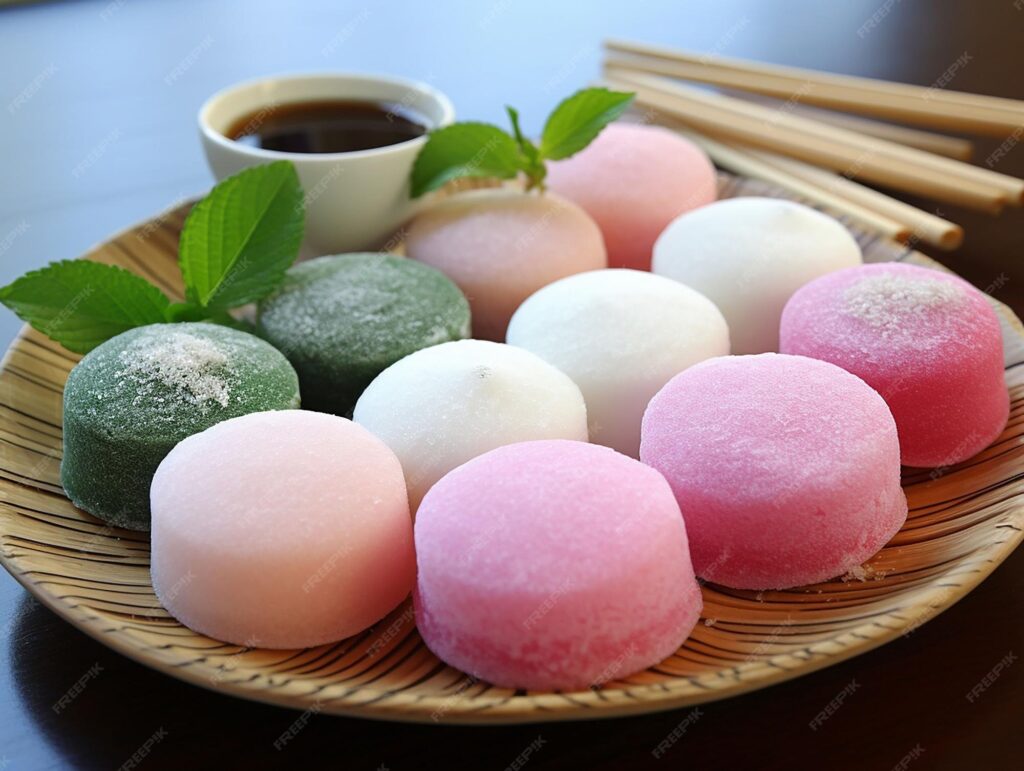
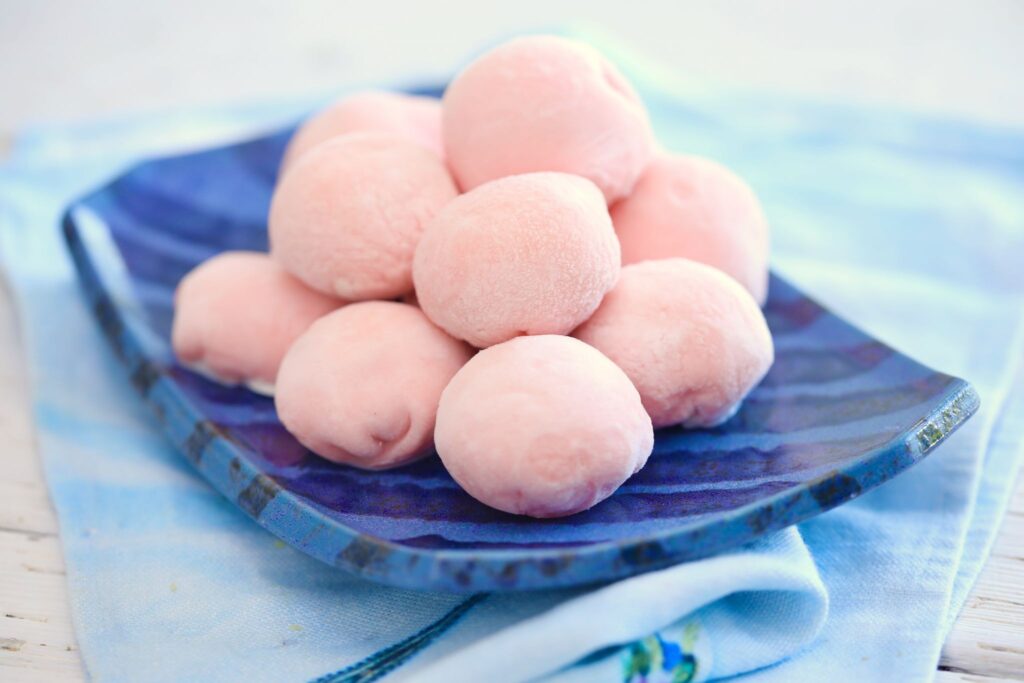
- Presentation: Arrange the mochi ice cream balls on a decorative plate or in small bowls for an elegant presentation.
- Dipping Sauce: Serve with a side of chocolate sauce, caramel sauce, or fruit puree for dipping.
- Beverage Pairing: Enjoy with a cup of green tea, black coffee, or a refreshing glass of lemonade.
Making **sweet Japanese mochi ice cream** might seem daunting at first, but with a little practice, you’ll be crafting these delectable treats like a pro. The key is to work quickly and efficiently, keeping both the ice cream and the mochi dough as cold as possible. Don’t be afraid to experiment with different flavors and colors to create your own signature **mochi ice cream**.
The joy of biting into a perfectly crafted piece of **mochi ice cream** is unparalleled. The soft, chewy texture of the mochi complements the cold, creamy filling in a way that is both satisfying and addictive. Plus, making them at home allows you to control the ingredients and customize the flavors to your liking. This makes it a fun and rewarding experience!
Beyond just a dessert, **mochi ice cream** can also be a wonderful activity to enjoy with family and friends. Gather around the kitchen, get your hands dusted in cornstarch, and create your own **mochi ice cream** masterpieces together. The process itself is as enjoyable as the finished product.
The beauty of this recipe is in its simplicity. While it does require a bit of patience and attention to detail, the steps are straightforward and easy to follow. The result is a treat that is both delicious and visually appealing, a testament to the magic that happens when different cultures and culinary techniques come together. Making **mochi ice cream** yourself will definitely be worth it!
So, gather your ingredients, roll up your sleeves, and prepare to embark on a culinary adventure. With this guide in hand, you’ll be well on your way to creating your own batch of **sweet Japanese mochi ice cream**. Get ready to experience the joy of biting into these delightful little balls of frozen goodness. Enjoy!
Remember to have fun and be creative! This **mochi ice cream** recipe is just a starting point. Let your imagination run wild and experiment with different flavors, colors, and presentations. The possibilities are endless. Happy mochi-making!
One important tip is to ensure that the ice cream balls are thoroughly frozen. If they are too soft, they will melt quickly when you are wrapping them in the mochi dough. This can make the process messy and difficult. Therefore, it is best to freeze the ice cream balls overnight for best results.
Another helpful tip is to keep the mochi dough covered when you are not working with it. This will prevent it from drying out and becoming difficult to work with. You can cover it with plastic wrap or a damp cloth.
When flattening the mochi dough, try to make it as thin as possible without tearing it. This will make the mochi ice cream easier to eat and will also prevent it from being too chewy.
Don’t be afraid to use plenty of cornstarch or potato starch to prevent the mochi from sticking. This is especially important when you are kneading the dough and wrapping the ice cream balls.

If you find that the mochi dough is too sticky, you can add a little more glutinous rice flour. If it is too dry, you can add a little more water.
Finally, remember to have fun! Making **mochi ice cream** is a rewarding experience, and you should enjoy the process. Don’t be discouraged if your first attempt is not perfect. With a little practice, you will be making delicious **mochi ice cream** in no time.
The key to perfecting **sweet Japanese mochi ice cream** lies in mastering the mochi dough. Ensure it is smooth, elastic, and not too sticky. This requires patience and practice, but the reward is well worth the effort. Consistent kneading and proper dusting with starch are crucial for achieving the desired texture. Once the dough is right, wrapping the ice cream becomes much easier, leading to perfectly formed and delightful treats.
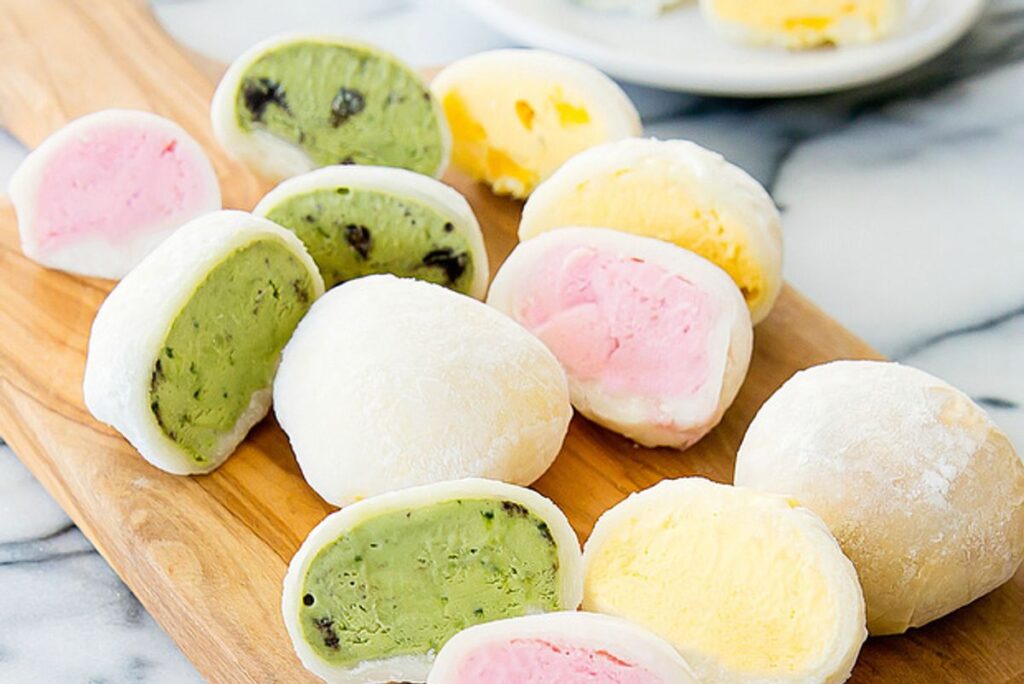
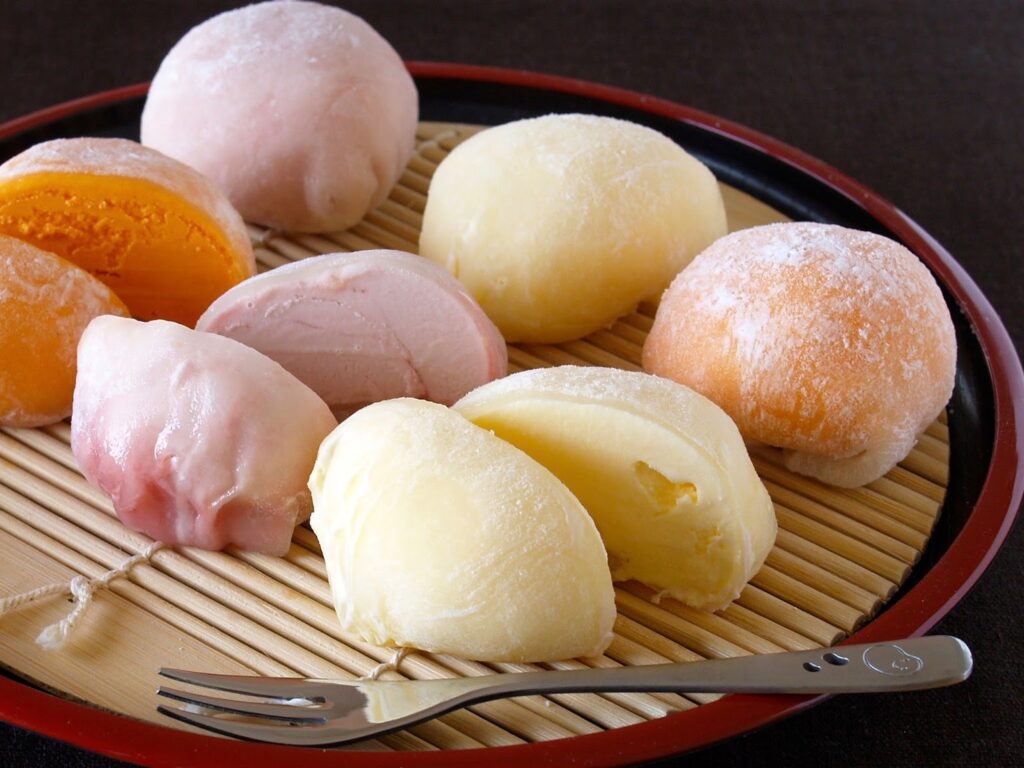
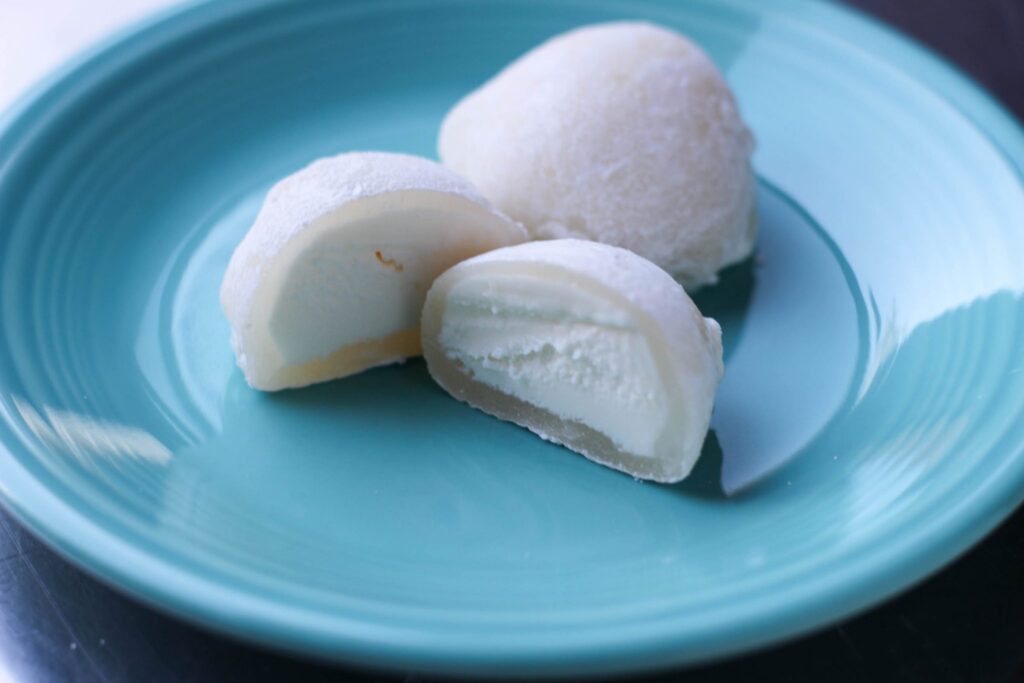
Another aspect to consider is the ice cream itself. While any flavor can work, some complement the mochi better than others. Fruity flavors like strawberry or mango provide a refreshing contrast to the chewy dough, while richer flavors like chocolate or vanilla offer a more decadent experience. Experimenting with different combinations is part of the fun and allows you to discover your personal favorites in **sweet Japanese mochi ice cream**.
The freezing process is also vital to the final product. Ensuring that both the ice cream balls and the assembled mochi ice cream are thoroughly frozen prevents melting and maintains the structural integrity of the treat. A minimum of 30 minutes in the freezer after assembly is recommended, but longer freezing times can further enhance the texture and prevent any messy surprises when serving. Ultimately, homemade **mochi ice cream** is a labor of love, offering a unique and customizable dessert experience.
The origin of **mochi ice cream** is a fascinating blend of Japanese tradition and modern innovation. While mochi itself has a long history in Japanese cuisine, the concept of wrapping it around ice cream is relatively recent. This innovative combination has quickly gained popularity worldwide, appreciated for its unique textural contrast and diverse flavor possibilities. Today, **mochi ice cream** is enjoyed as a delicious and convenient treat, embodying a fusion of cultures and culinary creativity.
The adaptability of this recipe makes it ideal for various dietary needs and preferences. For vegan **mochi ice cream**, simply substitute the dairy ice cream with a plant-based alternative. There are now many delicious vegan ice cream options available that work perfectly in this recipe. Additionally, the sweetness of the mochi can be adjusted to accommodate those with sugar sensitivities. Experimenting with different sweeteners like honey or maple syrup can add unique flavors and cater to individual dietary requirements.
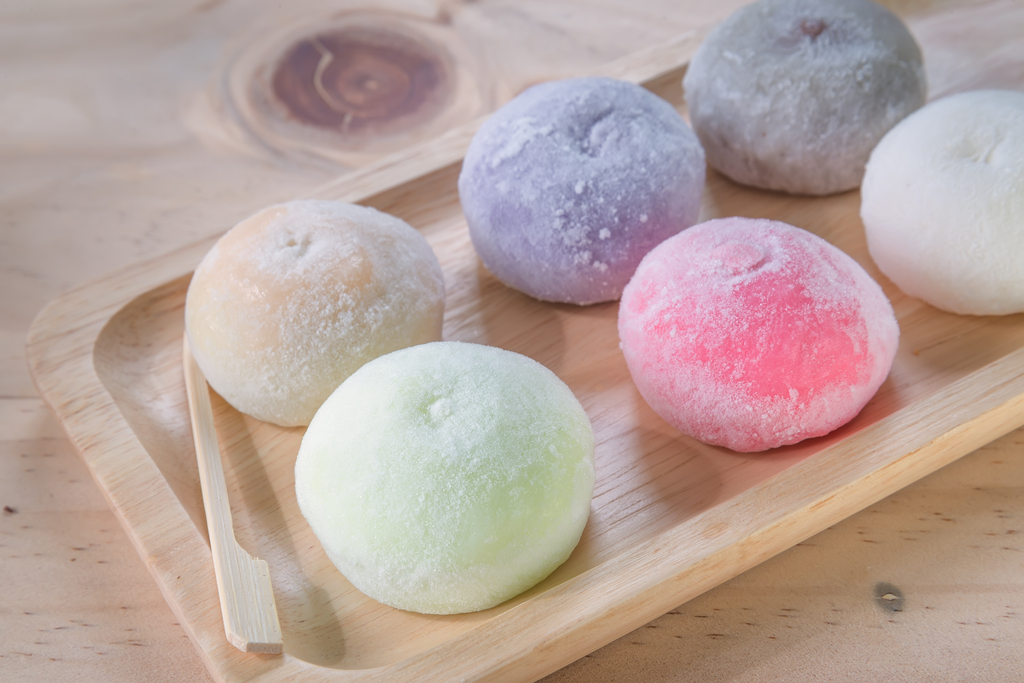
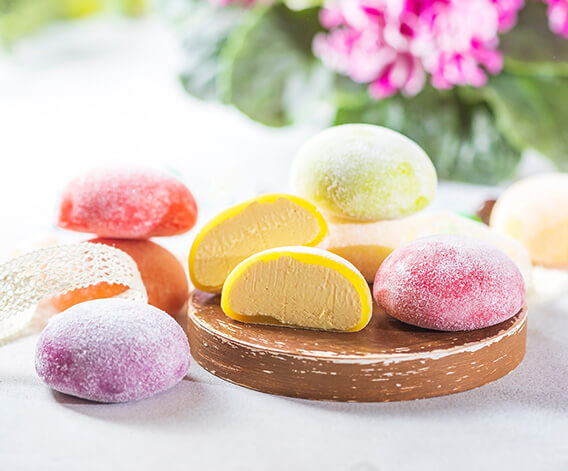
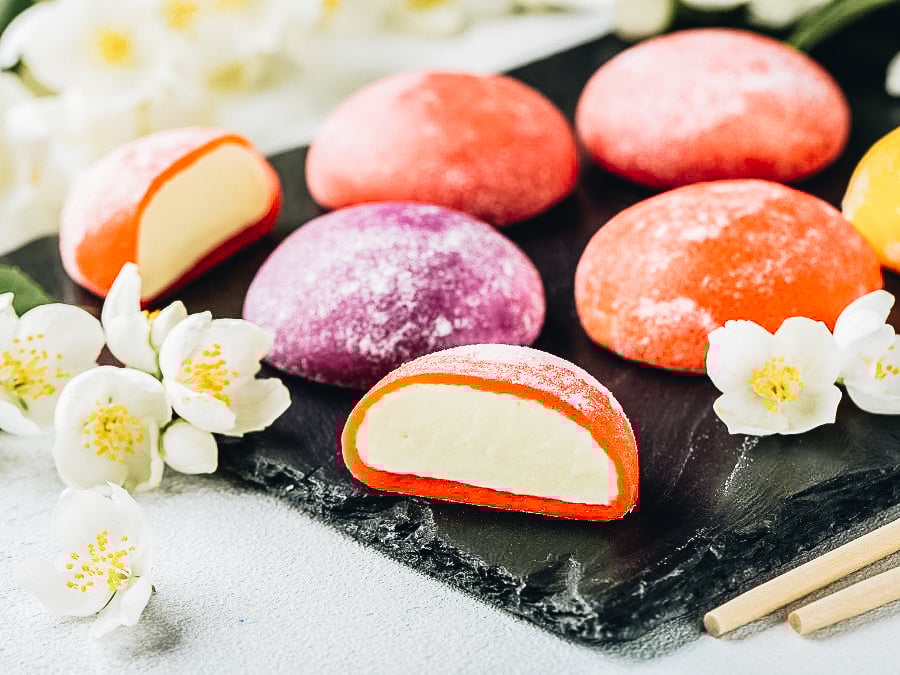
Furthermore, consider the aesthetic appeal of your **mochi ice cream**. Using different food colorings can create visually stunning and personalized treats. Experimenting with pastel shades, vibrant hues, or even natural colorings derived from fruits and vegetables can elevate the presentation of your **mochi ice cream**, making it a feast for both the eyes and the palate. Whether you’re creating a rainbow assortment or sticking to a more minimalist palette, the visual aspect adds another layer of enjoyment to this delicious dessert.
Lastly, remember to properly store your **mochi ice cream** to maintain its quality. Keep the **mochi ice cream** in an airtight container in the freezer. It is best to consume them within a week to prevent freezer burn and maintain the chewy texture of the mochi. Properly stored, these homemade treats will remain a delightful indulgence for days to come. The experience of making **sweet Japanese mochi ice cream** is also a great pastime to do at home.