
Embark on a culinary adventure to Japan with our simple and delicious Onigiri recipe! Onigiri, also known as Japanese rice balls, are a staple in Japanese cuisine, perfect for a quick snack, a light lunch, or a delightful addition to any bento box. These savory rice treats are incredibly versatile and can be customized with a wide variety of fillings, making them a favorite for both kids and adults. Forget complicated recipes and expensive ingredients – this guide will walk you through creating perfect Onigiri rice balls from scratch, ensuring a flavorful and satisfying experience every time. Mastering the art of Onigiri is easier than you think, and the results are well worth the effort. Get ready to impress your friends and family with these authentic and delightful Japanese rice balls!
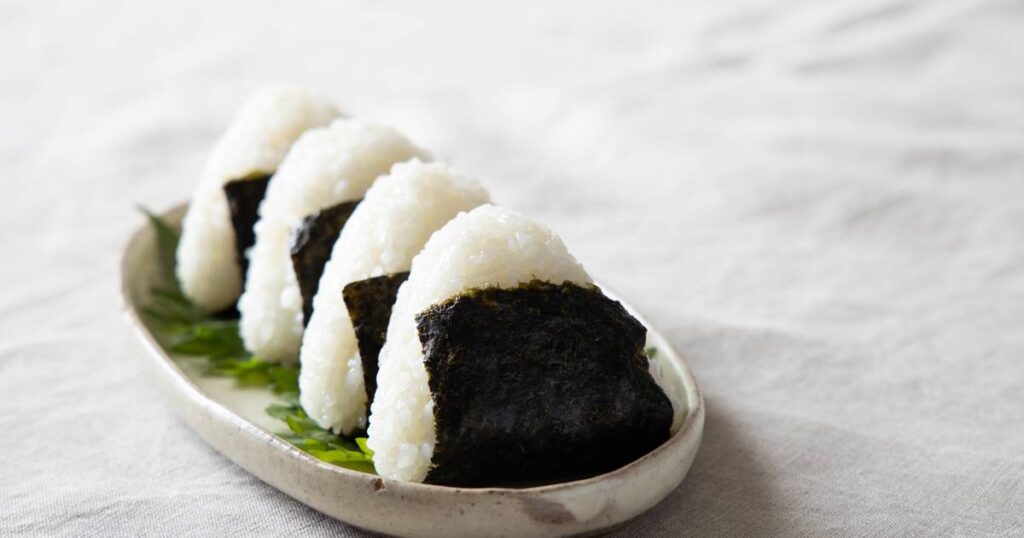
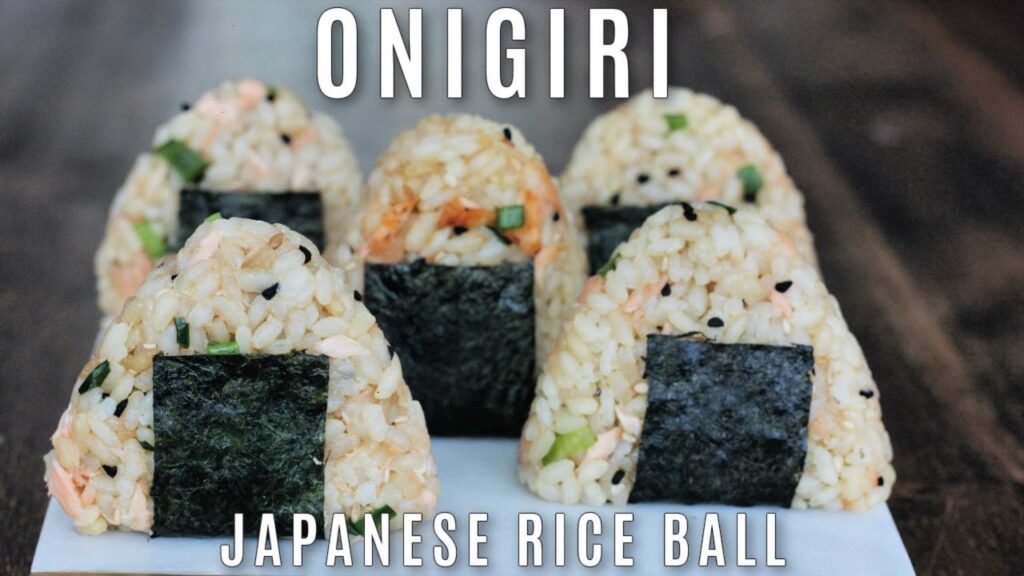
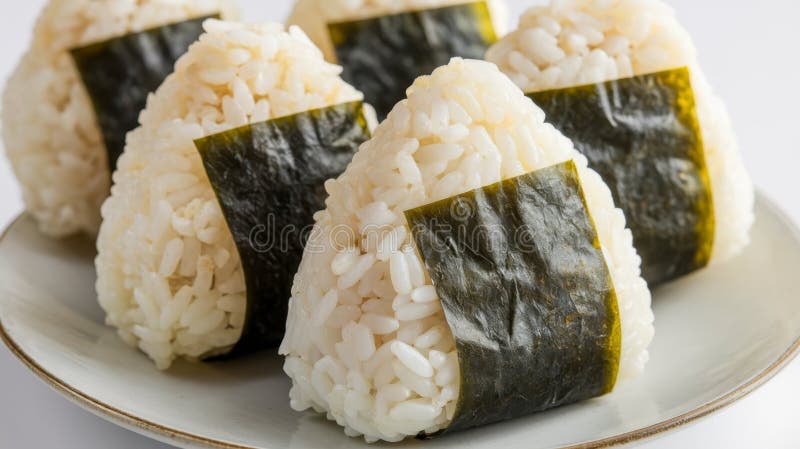
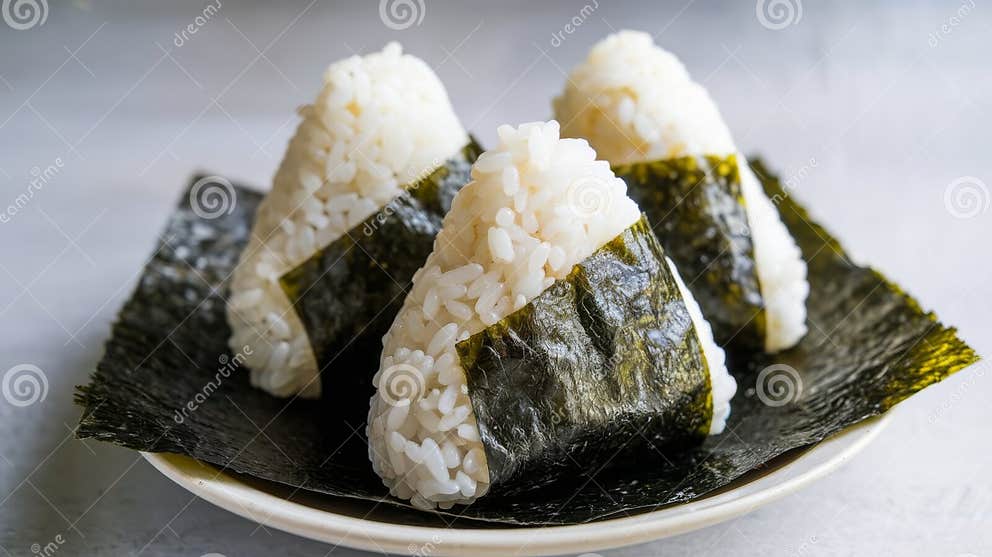
[Image of beautifully arranged Onigiri Rice Balls]
Before we dive into the step-by-step instructions, let’s take a quick look at the recipe overview:
| Category | Value |
|---|---|
| Preparation Time | 20 minutes |
| Cooking Time | 30 minutes |
| Servings | 6 Onigiri |
| Difficulty | Easy |
Nutrition Per Serving (Approximate)
Each Onigiri rice ball (approximate values):
- Calories: 150-200
- Protein: 3-5g
- Carbohydrates: 30-35g
- Fat: 1-3g
- Sodium: Varies depending on filling
These values can vary based on the specific ingredients and fillings used.
Ingredients for Perfect Onigiri
Here’s what you’ll need to make six delicious Onigiri rice balls:

| Ingredient | Quantity | Notes |
|---|---|---|
| Japanese Short-Grain Rice | 2 cups | Essential for the right sticky texture. Sushi rice works great too. |
| Water | 2 1/2 cups | For cooking the rice. |
| Salt | 1/2 teaspoon | To season the rice. Adjust to taste. |
| Nori Seaweed Sheets | 3 sheets | Cut into strips for wrapping. |
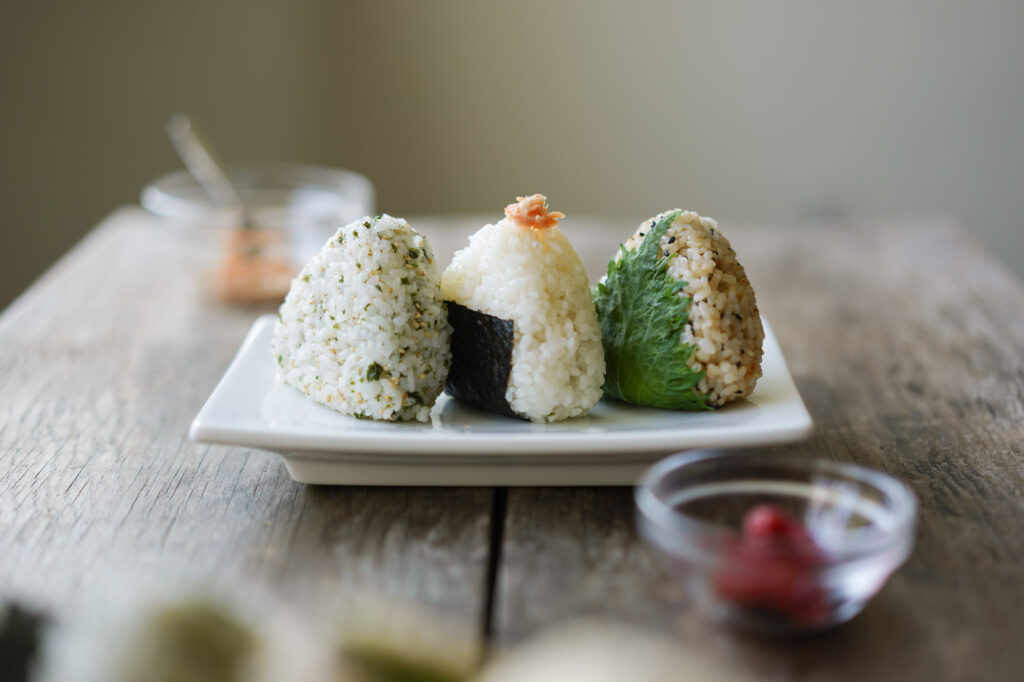
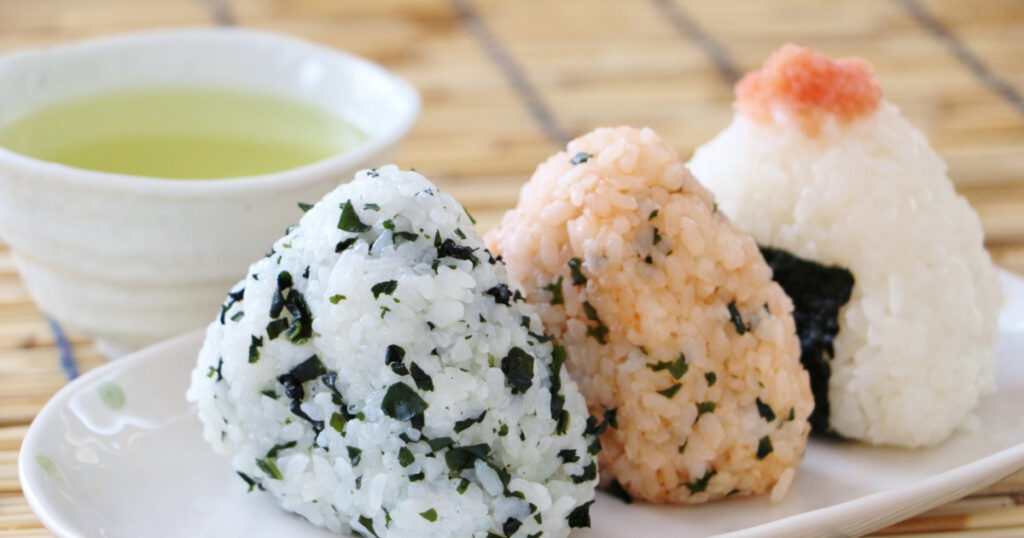
| Fillings (Choose your favorites!) | Varies | Examples: Umeboshi (pickled plum), tuna mayo, cooked salmon flakes, seasoned seaweed (wakame), spicy cod roe (mentaiko). |
| Water (for hands) | As needed | To prevent rice from sticking to your hands. |
Cooking Instructions
Follow these step-by-step instructions to create perfect Onigiri every time:
-
Rinse the Rice: Place the Japanese short-grain rice in a fine-mesh sieve and rinse thoroughly under cold running water until the water runs clear. This removes excess starch, which helps prevent the rice from becoming too sticky.
How to Make Onigiri (Japanese Rice Balls) Ultimate Guide Okonomi -
Cook the Rice: Combine the rinsed rice and 2 1/2 cups of water in a pot or rice cooker. If using a pot, bring to a boil over high heat, then reduce the heat to low, cover, and simmer for 15-20 minutes, or until all the water is absorbed. If using a rice cooker, follow the manufacturer’s instructions. Once cooked, let the rice steam, covered, for another 10 minutes. Fluff the rice gently with a rice paddle.
How To Make Onigiri Japanese Rice Balls Recipe Simple and Delish by -
Season the Rice: Transfer the cooked rice to a large bowl. Sprinkle the salt over the rice and gently mix it in using a rice paddle or spatula. Be careful not to mash the rice. Taste and adjust the seasoning as needed. Some people like to add a touch of rice vinegar for extra flavor, similar to sushi rice.
How to Make Onigiri (Japanese Rice Balls) Love At First Bento -
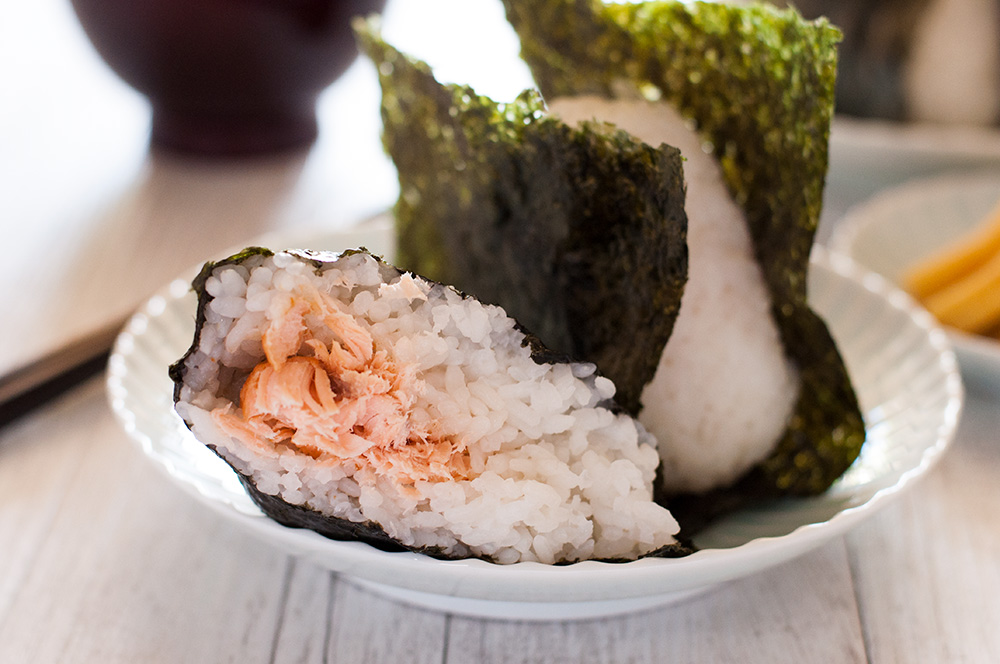
Prepare Your Fillings: While the rice is cooking, prepare your chosen fillings. If using Umeboshi, remove the pit. If using tuna mayo, mix canned tuna with mayonnaise and a pinch of black pepper. For cooked salmon flakes, simply flake cooked salmon. Make sure all fillings are ready to go before you start forming the Onigiri.
Onigiri (Rice Balls) Recipe Food Network -
Wet Your Hands: This is crucial to prevent the rice from sticking to your hands. Place a bowl of water near your work area. Wet your hands thoroughly before handling the rice. You can also add a pinch of salt to the water for extra seasoning.
Onigiri (Japanese Rice Balls) おにぎり • Just One Cookbook -
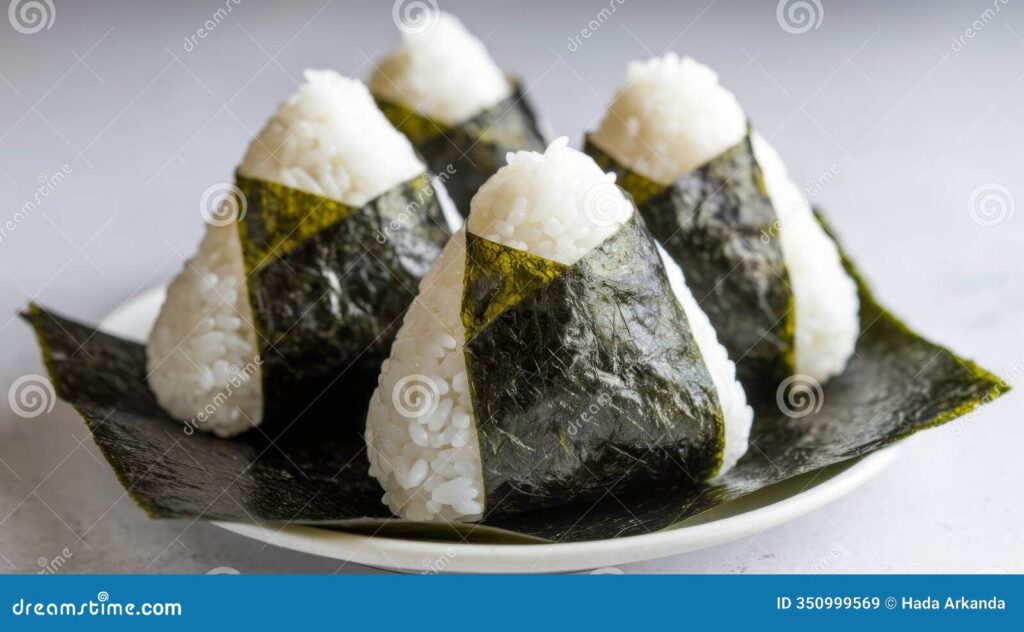
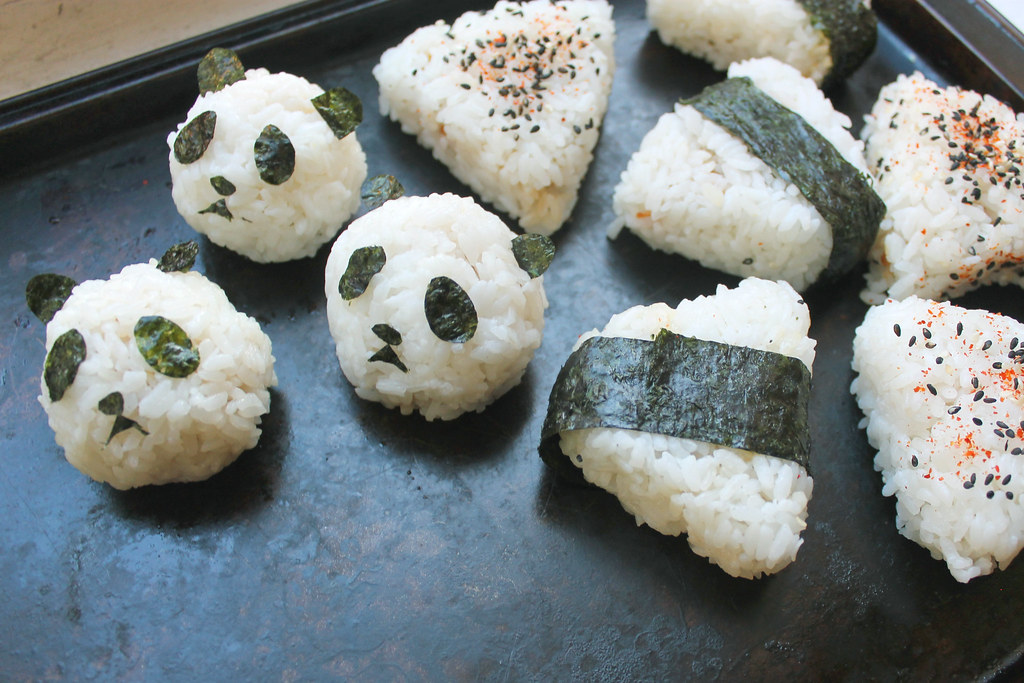
Shape the Onigiri: Take a handful of seasoned rice (about 1/2 cup) and gently form a small indentation in the center. Place your chosen filling inside the indentation. Then, gently cover the filling with more rice, shaping the mixture into a triangle, ball, or cylinder. Use gentle but firm pressure to mold the rice together. Avoid squeezing too hard, as this will make the Onigiri dense and less appealing.
Onigiri (Japanese Rice Ball) RecipeTin Japan -
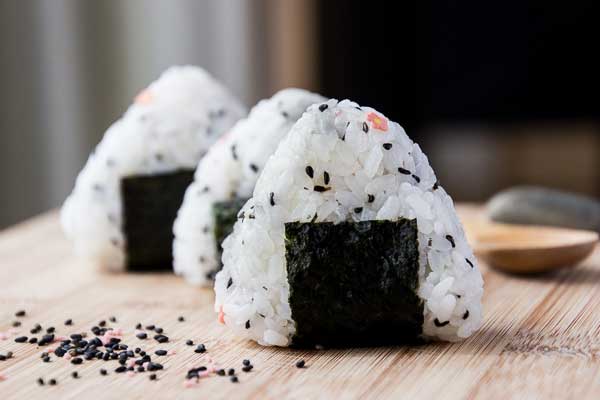
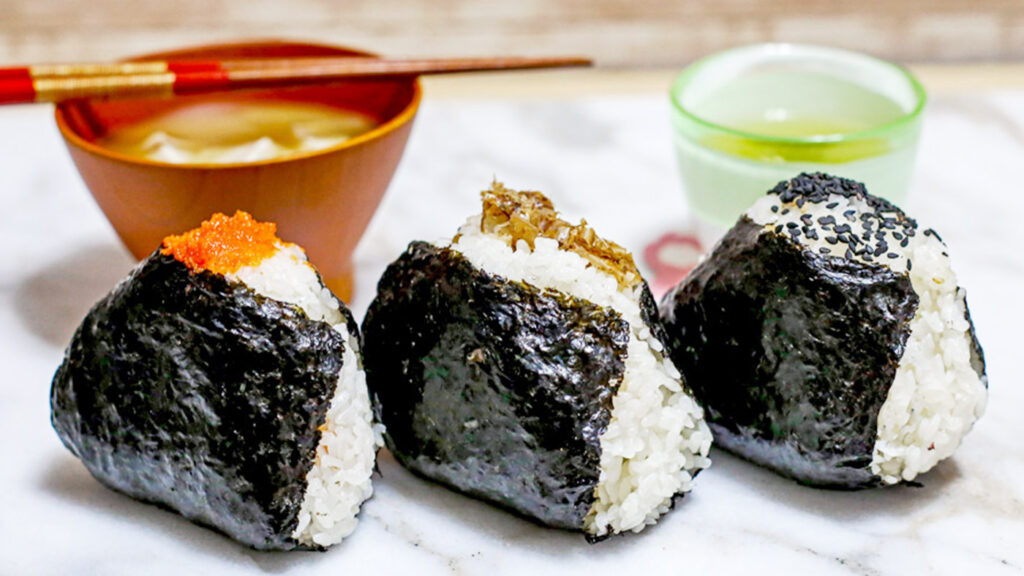
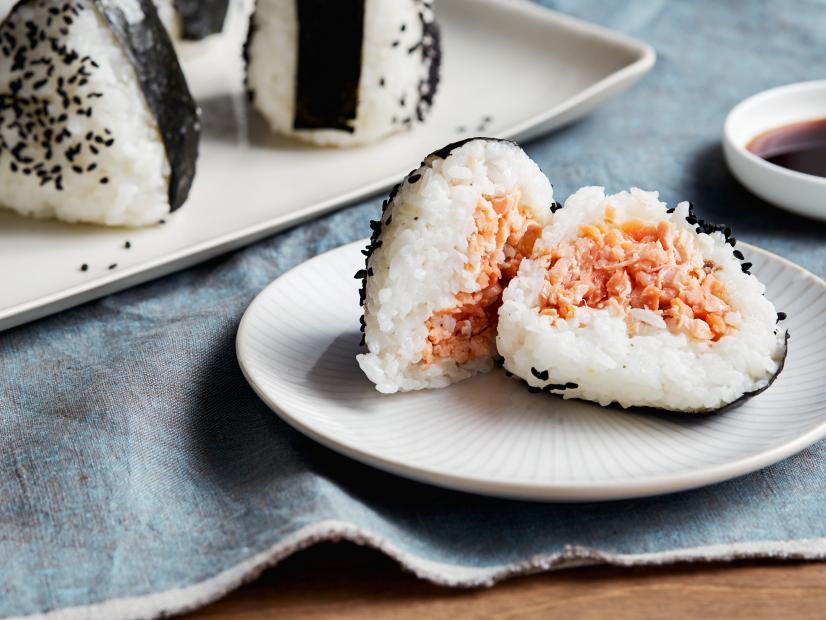
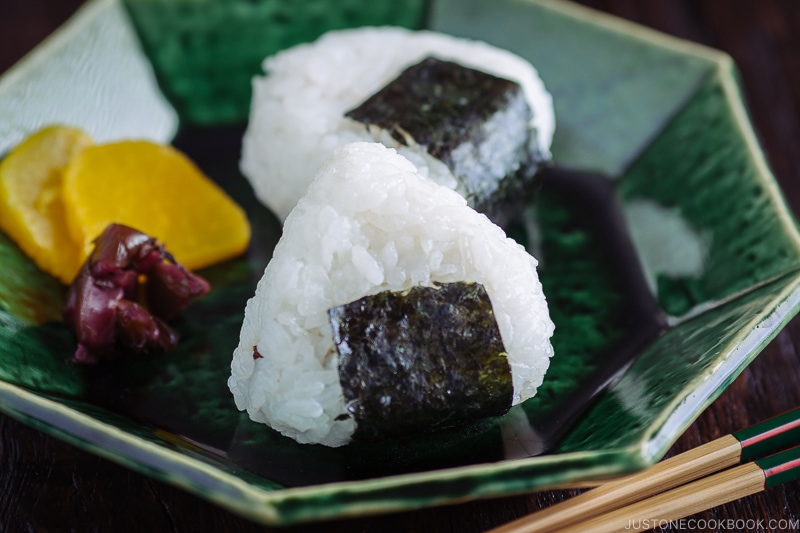
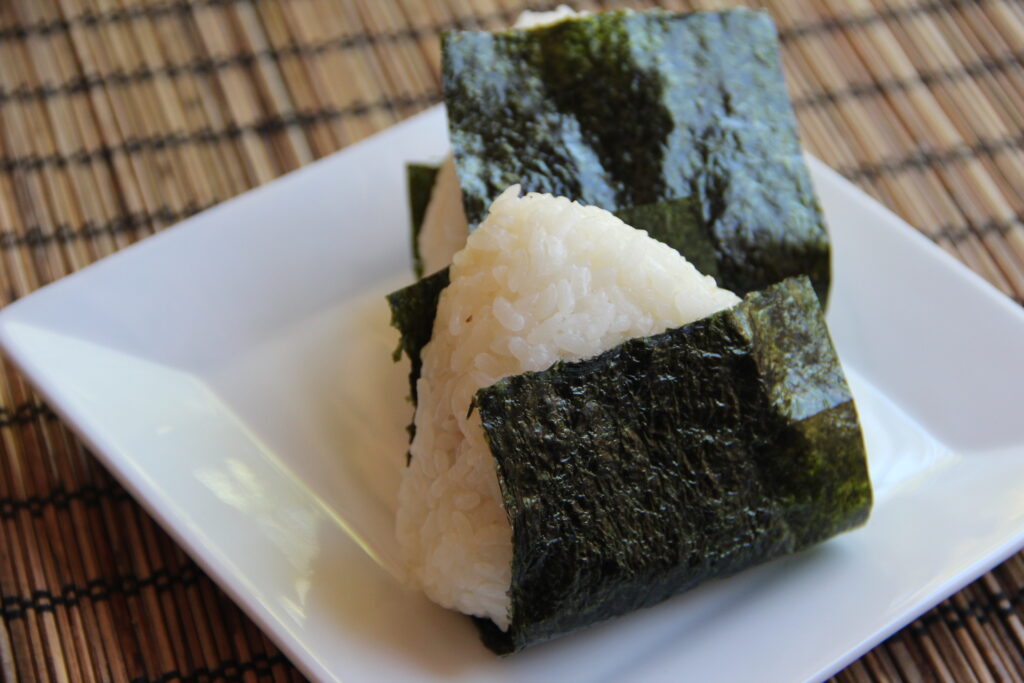
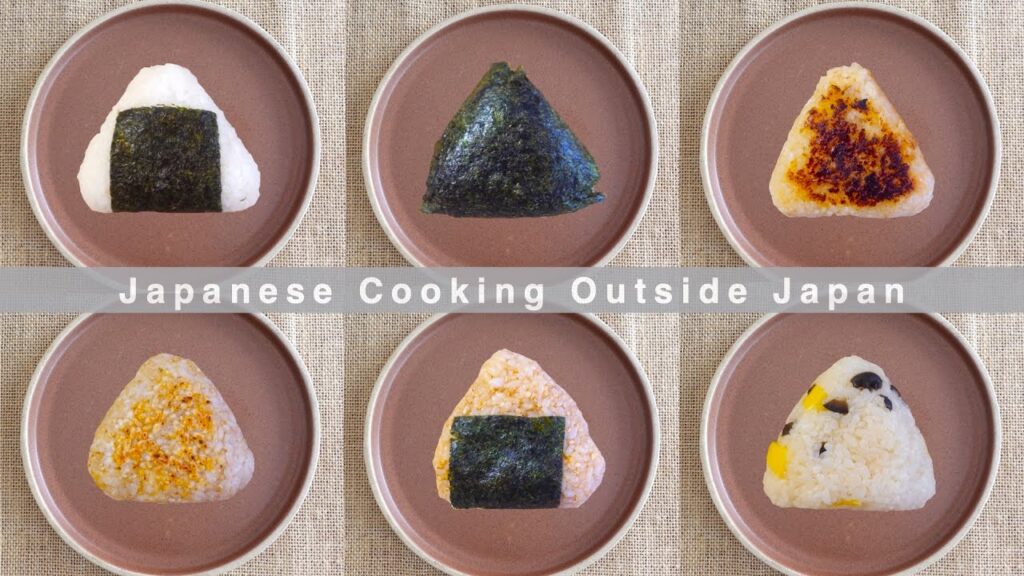
Wrap with Nori: Cut the nori seaweed sheets into strips. Wrap a strip of nori around the bottom of each Onigiri. The nori adds a savory flavor and helps to keep the Onigiri from falling apart. You can also use small pieces of nori to decorate the Onigiri, if desired.
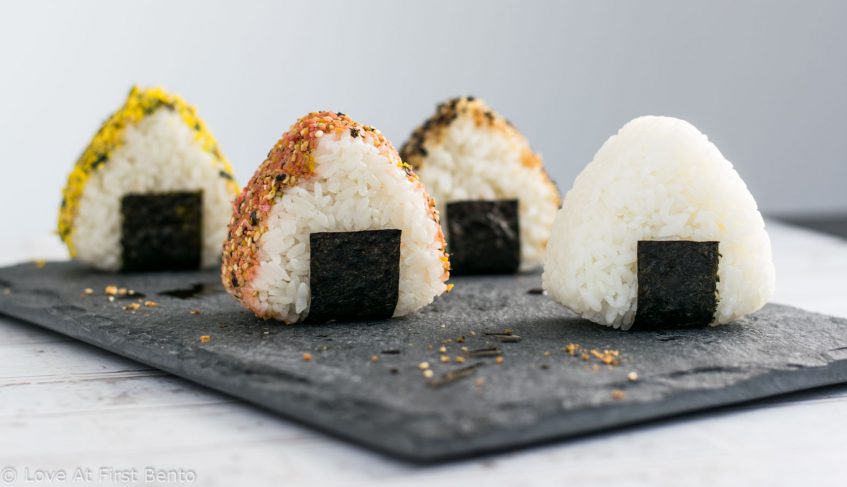
Onigiri (Japanese Rice Balls) Ruriiro Japan -
Repeat and Enjoy: Repeat steps 5-7 until all the rice is used. Serve the Onigiri immediately or wrap them individually in plastic wrap for later enjoyment. Onigiri are best enjoyed within a few hours of making them, but they can be stored in the refrigerator for up to 24 hours.
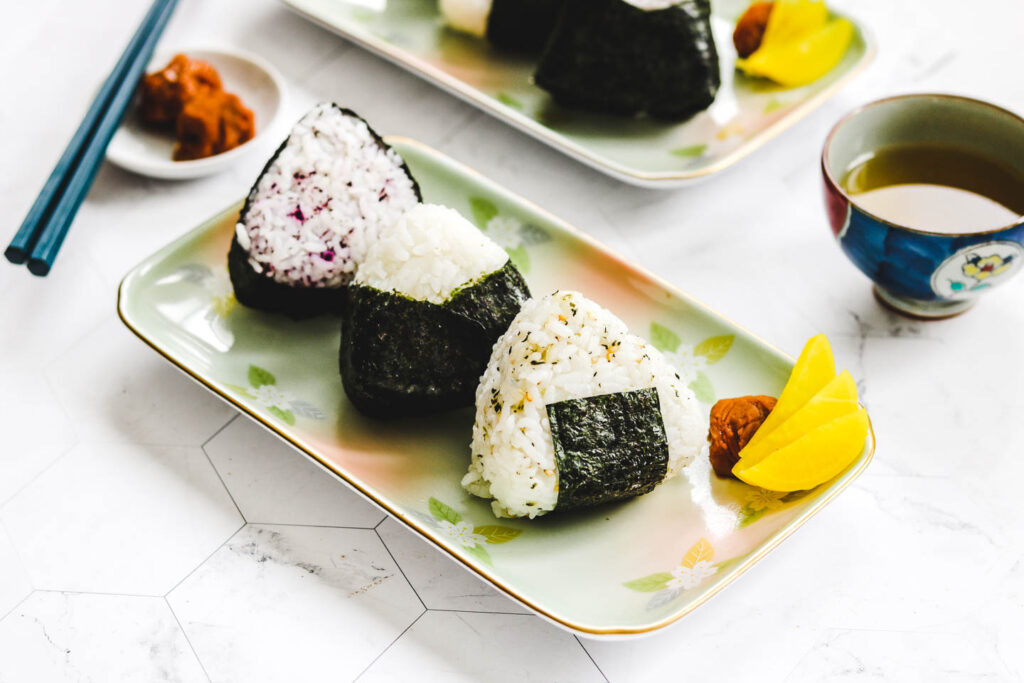
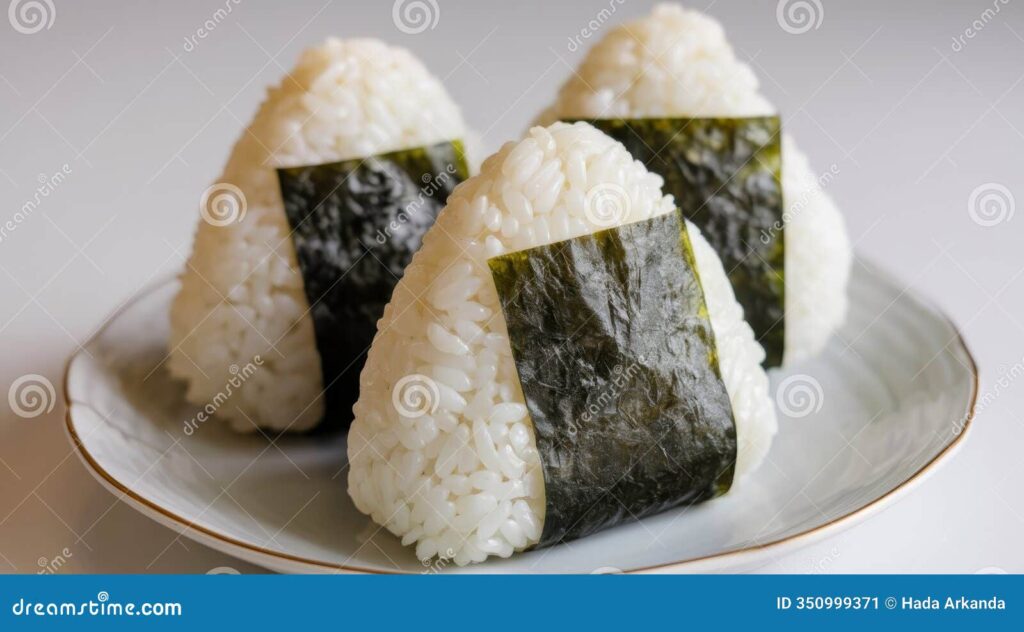
Authentic Japanese Onigiri Rice Balls, a Popular Snack, Isolated on a
Serving Suggestions
Onigiri rice balls are incredibly versatile and can be enjoyed in numerous ways. Here are a few serving suggestions:
- As a snack: Onigiri make a perfect quick and easy snack between meals.
- In a bento box: Onigiri are a classic addition to any bento box, providing a satisfying and portable meal.
- With miso soup: Enjoy Onigiri with a warm bowl of miso soup for a traditional Japanese meal.
- As part of a picnic: Onigiri are ideal for picnics, as they are easy to transport and eat on the go.
- With a side of pickles: Serve Onigiri with a variety of Japanese pickles (tsukemono) for added flavor and texture.
- Breakfast:Onigiri is also an excellent make-ahead breakfast to have on busy mornings.
Tips for Perfect Onigiri
Here are some additional tips to help you make the best Onigiri rice balls:
- Use high-quality rice: The quality of the rice significantly impacts the taste and texture of the Onigiri. Use Japanese short-grain rice or sushi rice for the best results.
- Don’t overcook the rice: Overcooked rice will be mushy and difficult to shape. Follow the cooking instructions carefully and adjust the cooking time as needed.
- Keep your hands wet: This will prevent the rice from sticking to your hands and make it easier to shape the Onigiri.
- Use gentle pressure: Avoid squeezing the rice too hard, as this will make the Onigiri dense and less appealing.
- Experiment with fillings: Don’t be afraid to try different fillings to find your favorites. The possibilities are endless!
- Use plastic wrap: If you find it difficult to shape the Onigiri with your hands, you can use plastic wrap to help mold the rice. Simply place the rice on a sheet of plastic wrap, add the filling, and then twist the plastic wrap to form the Onigiri.
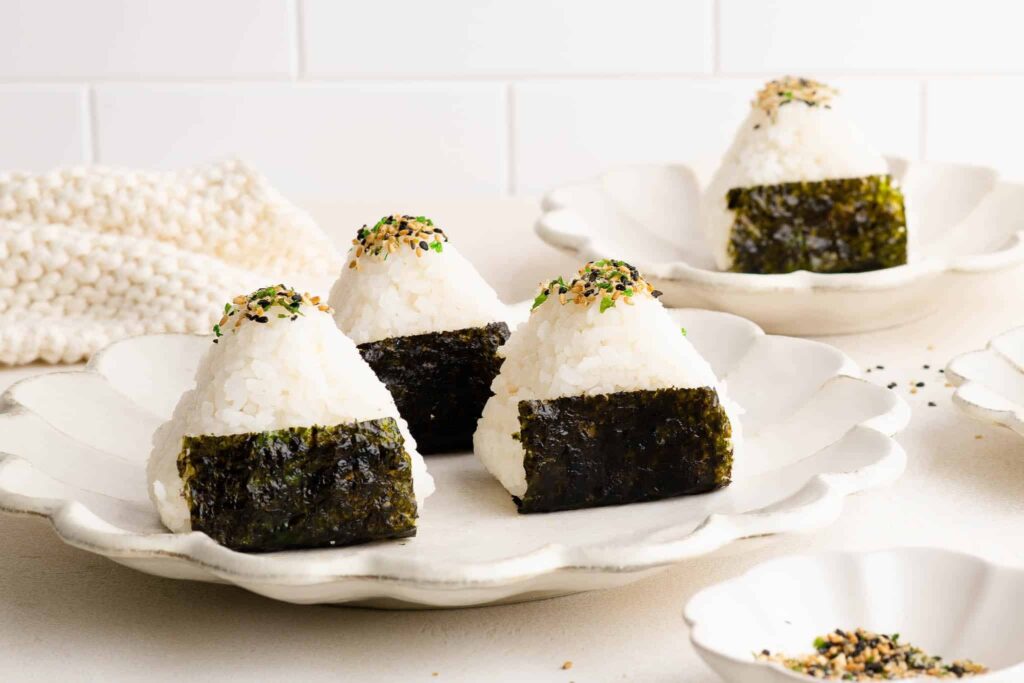
- Add furikake: Mix furikake (a Japanese rice seasoning) into the rice for added flavor and visual appeal.
- Toast the nori: Lightly toasting the nori sheets before wrapping the Onigiri will make them crispier and more flavorful.
- Make them ahead of time: Onigiri can be made ahead of time and stored in the refrigerator for up to 24 hours. Wrap them individually in plastic wrap to prevent them from drying out.
Making Onigiri is a fun and rewarding experience. With a little practice, you’ll be able to create perfect Onigiri rice balls that are both delicious and visually appealing. So gather your ingredients, follow these simple steps, and enjoy the taste of Japan!
The beauty of Onigiri lies in its simplicity and adaptability. Whether you prefer traditional fillings or want to experiment with new flavors, these delightful rice balls are sure to please. From the careful selection of ingredients to the gentle shaping of the rice, each step in the process contributes to the overall experience of creating and enjoying these iconic Japanese treats. So, embrace the art of Onigiri, and let your creativity shine through with every delicious bite! Don’t be discouraged if your first attempt isn’t perfect; with a little practice, you’ll soon be crafting Onigiri like a pro. Remember to have fun and savor the journey of creating these delightful Japanese rice balls.
In conclusion, mastering the art of Onigiri is a fantastic way to explore Japanese cuisine and add a versatile and delicious dish to your culinary repertoire. These simple yet satisfying rice balls are perfect for snacks, lunches, picnics, and more. With endless possibilities for fillings and variations, you can customize your Onigiri to suit your tastes and preferences. So, grab your ingredients, follow our easy-to-understand recipe, and embark on a delightful culinary adventure with these classic Japanese rice balls. Happy cooking, and enjoy the deliciousness of homemade Onigiri! We hope you found this guide helpful and inspiring. Now, go forth and create your own Onigiri masterpieces!
Onigiri is more than just a recipe; it’s a cultural experience. Each bite connects you to the rich traditions of Japanese cuisine and the simple pleasures of homemade food. Sharing Onigiri with friends and family is a wonderful way to spread joy and create lasting memories. So, gather your loved ones, prepare a batch of these delightful rice balls, and enjoy the taste of Japan together. The experience of making and sharing Onigiri is as rewarding as the taste itself. It’s a culinary journey that brings people together and celebrates the art of simple, delicious food. So, embrace the spirit of Onigiri, and let it inspire your culinary creativity and connect you to the heart of Japanese culture.

 Recipe")

