Dive into the delightful world of Ethiopian cuisine with this comprehensive guide to making authentic Kita flatbread! This recipe breaks down the process into easy-to-follow steps, ensuring even novice bakers can create delicious, fluffy Kita, perfect for scooping up flavorful stews and curries. Learn the secrets to achieving that perfectly soft texture and subtle wheat flavor that defines this beloved Ethiopian staple. Get ready to experience the joy of homemade Kita flatbread – a culinary adventure waiting to unfold!
| Category | Value |
|---|---|
| Preparation Time | 20 minutes |
| Cooking Time | 30 minutes |
| Servings | 8-10 flatbreads |
| Difficulty | Easy |
Nutritional Information (per serving, approximate): Calories: 150-200, Protein: 5-7g, Carbohydrates: 30-40g, Fat: 2-3g. Note: Nutritional values can vary depending on the specific ingredients used.
| Ingredient | Quantity |
|---|---|
| All-purpose flour | 4 cups |
| Warm water | 1 ½ cups (adjust as needed) |
| Salt | 1 teaspoon |
| Olive oil or vegetable oil | 2 tablespoons |
Cooking Instructions
- In a large bowl, combine the flour and salt. Gradually add warm water while mixing with your hands or a wooden spoon, until a soft, slightly sticky dough forms. This is the base of your delicious Ethiopian Kita flatbread.
- Add 1 tablespoon of oil to the dough and knead for about 5-7 minutes. The dough should become smoother and more elastic. If it seems too dry, add a little more water, a teaspoon at a time. If it’s too sticky, add a tablespoon of flour.
- Lightly oil the bowl, place the dough inside, cover with a clean kitchen towel, and let it rise in a warm place for at least 30 minutes. This resting period allows the gluten to relax and the dough to develop its characteristic texture – essential for perfect Ethiopian Kita flatbread.
- Divide the risen dough into 8-10 equal-sized balls. On a lightly floured surface, roll each ball into a thin, round flatbread, approximately 8-10 inches in diameter. Aim for a consistent thickness to ensure even cooking.
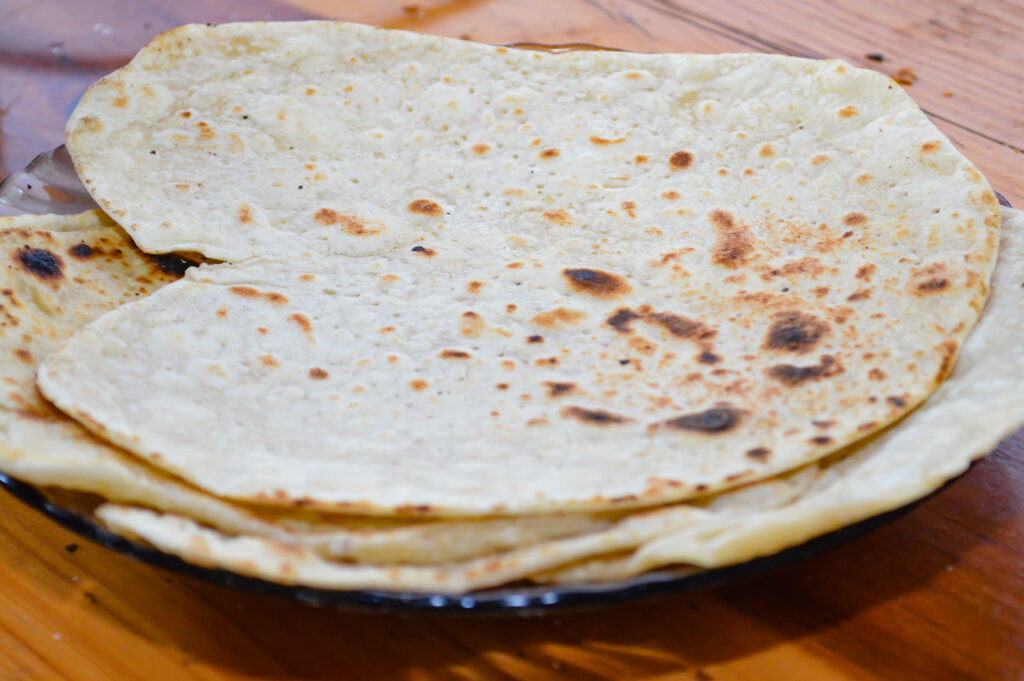
- Heat a large, flat griddle or frying pan over medium heat. Once hot, add 1-2 flatbreads (depending on the size of your pan). Cook for about 1-2 minutes per side, or until lightly browned and slightly puffy. The Ethiopian Kita flatbread should be cooked through and have a pleasant, slightly crispy exterior.
- Brush each cooked Kita flatbread with the remaining 1 tablespoon of oil. Stack them on a plate and cover with a clean kitchen towel to keep them warm and soft.
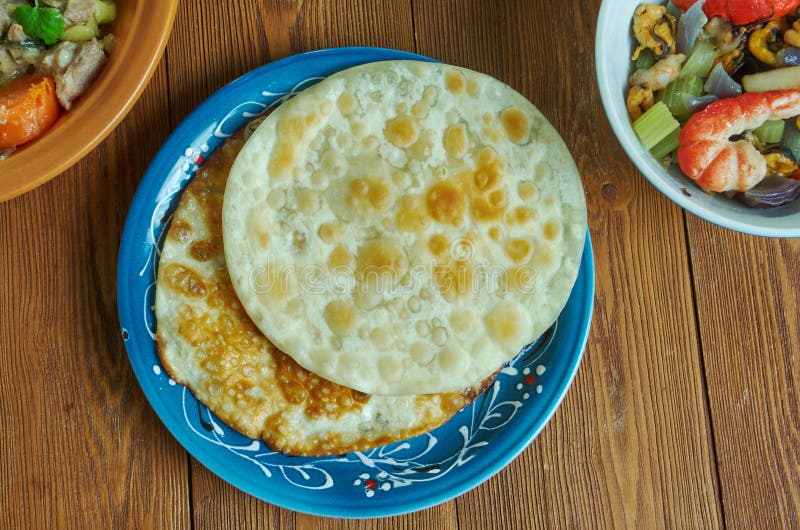
- Serve your homemade Ethiopian Kita flatbread immediately with your favorite Ethiopian stews, curries, or wat. Enjoy the authentic flavors and textures!
Serving Suggestions: Ethiopian Kita flatbread is incredibly versatile. It’s perfect for scooping up flavorful stews like wat, or enjoying alongside various curries. The slightly chewy texture beautifully complements the rich, savory sauces.

Tips and Notes:
- For a richer flavor, try using whole wheat flour or a blend of all-purpose and whole wheat flour when making your Ethiopian Kita flatbread.
- If the dough is too sticky even after kneading, add a little more flour, one tablespoon at a time.
- Don’t overcrowd the pan when cooking the flatbreads. This ensures even cooking and prevents sticking.
- If the flatbreads are browning too quickly, reduce the heat. The goal is to cook them through without burning.
- Leftover Ethiopian Kita flatbread can be stored in an airtight container at room temperature for up to 2 days or frozen for longer storage. Reheat gently in a pan or oven before serving. Enjoy!
Making homemade Ethiopian Kita flatbread is a rewarding experience. With a little practice, you’ll master the technique and be able to create this delicious flatbread for your family and friends time and time again. The process is simple, the outcome is delicious, and the satisfaction of creating this traditional Ethiopian food is unmatched. So, gather your ingredients, put on some Ethiopian music, and get ready to embark on this flavorful culinary adventure!